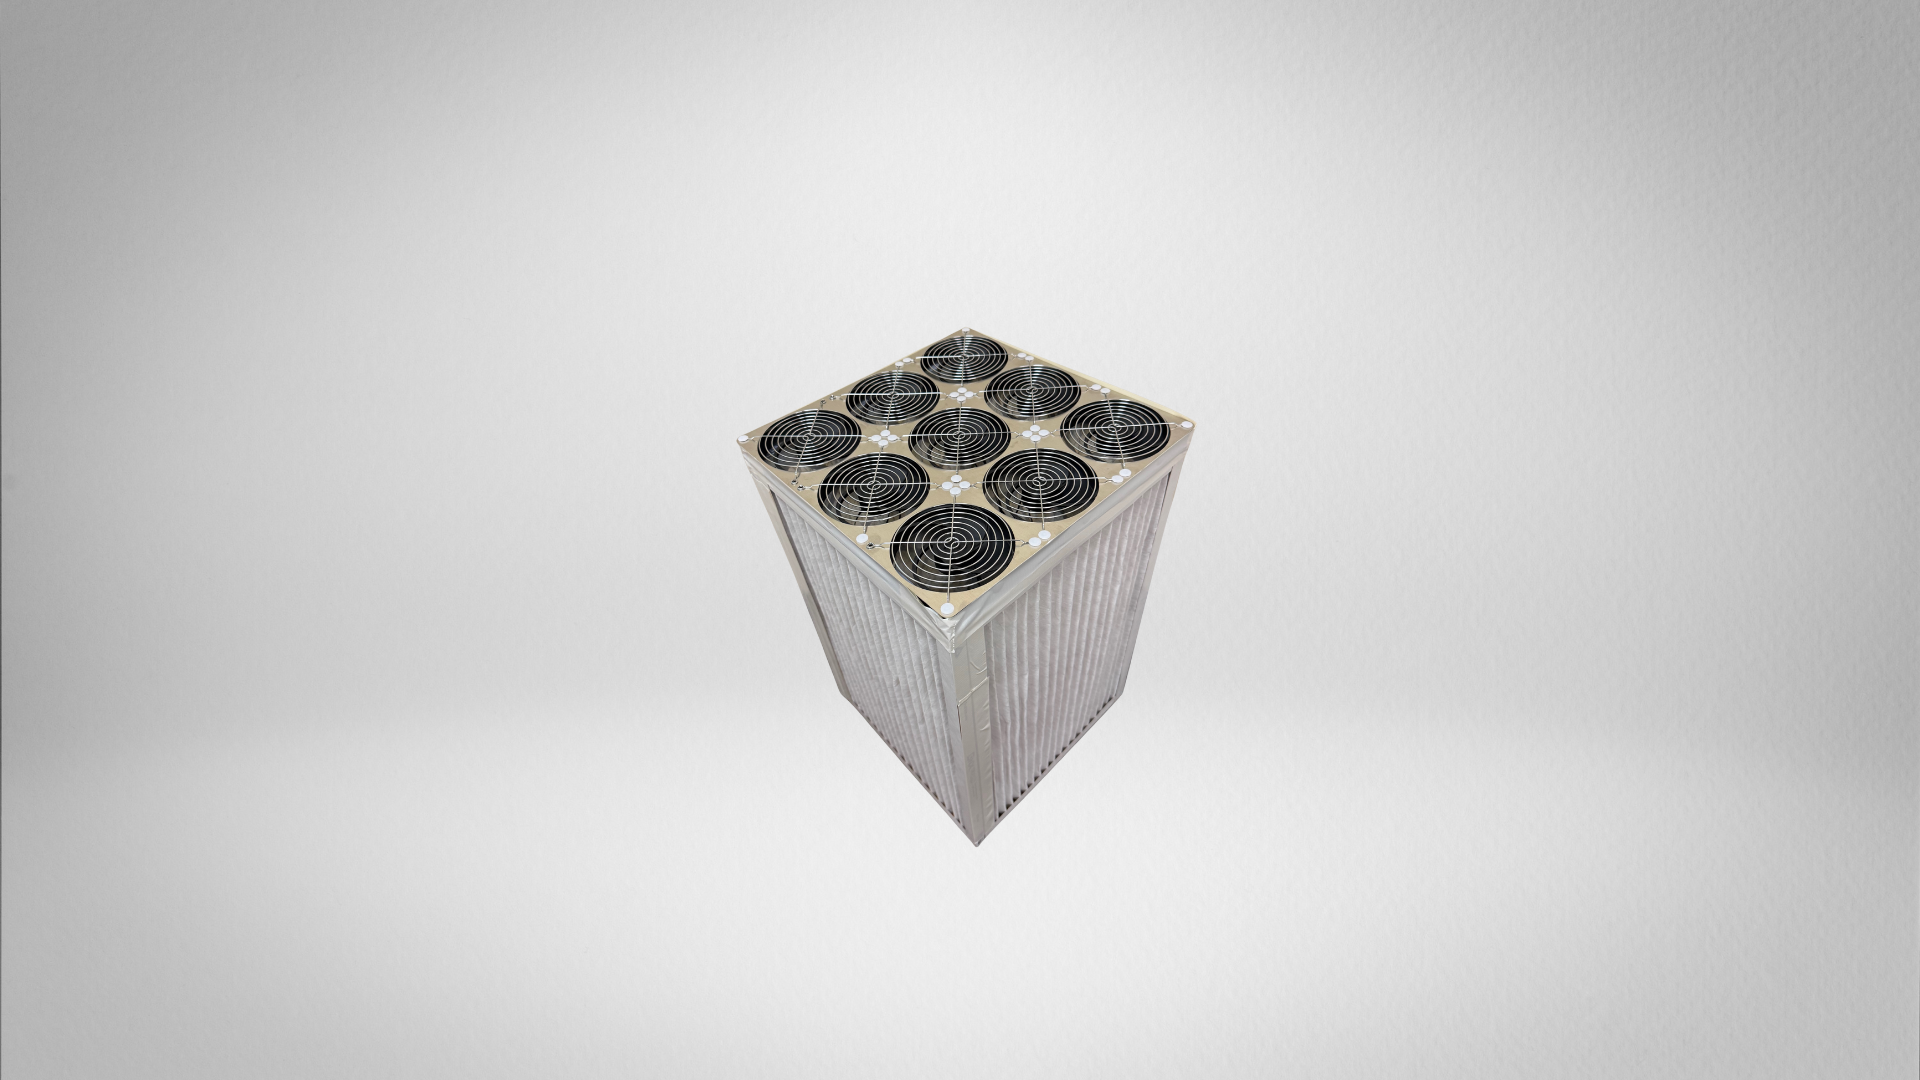
Why this was necessary
I found myself needing clean air frequently these last few years. Whether there were wildfires or disease outbreaks, they all impacted air quality. Taking a look on Amazon, I found and tried plenty of cheap but ineffective air purifiers. Dissatisfied with their performance, I took it upon myself to build my own air purifier instead!
Skip to performance analysis: Performance Analysis
Skip to bill of materials: Bill of materials
Skip to assembly instructions: Assembly Instructions
Problems I set out to fix with current air purifiers:
- Too loud -- I bought a jet engine, apparently
- Purification rate -- The advertised 99.99% air purification only applied at maximum fan speed
- Price -- Clean air shouldn't cost $500 and sometimes more
- Maintenance and environmental impact -- Finding replacement filters was often tricky and unreliable, sellers would prefer selling you a brand new air purifier instead
Performance
After months of research and iteration, I came up with a very simple design that is both easy to build, and performs quite nicely.
Energy bill:
$1.75 USD per month, the equivalent of an keeping an LED lightbulb turned on all month.
- Breakdown
- Assumes $0.15/kWh (check with your energy provider, mine is about 15¢/kWh)
- Single fan uses 1.8 Watts and one air purifier uses 9 fans
- -> 9 fans × 1.8 Watts = 16.2 W
- -> 16.2 ÷ 1000 = 0.0162 kWh
- -> 0.0162 × 24 hours × 30 days = 11.66 kWh
- -> 11.66 kWh per month × $0.15 / kWh ≈ $1.75/month
Noise levels:
20.18 dBA, the equivalent of a whisper from ~1 meter away. I know, I couldn't believe it myself. Just for reference, the background noise a quiet library is 20–30 dBA loud, and a house in the night time is 30–35 dBA loud. So this purifier is essentially silent.
- Breakdown
- Each fan is 10.64 dBA loud
- -> Loudness = L + 10⋅log10(N) where L is the noise level of one fan (dBA) and N is the number of fans
- -> Loudness = 10.64 + 10⋅log10(9)
- -> 10.64 + 9.54 = 20.18 dBA
Build price:
$180 without carbon pre-filters, $240 with carbon pre-filters, $280 with aluminum shroud, for one complete air purifier (parts list and instructions down below)
- I designed a custom aluminum shroud for this purifier. It saves even more time in the build process and makes it more durable! If you'd like one, that adds an additional $40, bringing the price to $240 or $280 depending on if you added carbon pre-filters. Please contact me to purchase one.
Maintenance costs:
$80 every 6 months, or ≈ $13 per month. That's for replacing the MERV 13 air filters.
Air purification efficiency, up to 2000 square feet:
- 442.3 CADR for pollen
- 417.7 CADR for dust
- 319.4 CADR for smoke on average
Air purification is the hardest to measure because it depends on various real world conditions and which particulates you are trying to purify. That being said, those are my estimated Clean Air Delivery Rates (CADR) in real world conditions (not including optional carbon filters) per particulate type
- CADR = (airflow in CFM) × (filtration efficiency as a fraction)
- Each Arctic P14 fan is rated at 72.8 CFM
- We are using MERV 13 air filters
- -> 9 fans × 72.8 CFM = 655.2 CFM theoretical limit for one air purifier
- -> Single-pass efficiencies for MERV 13:
- Smoke (0.3–1.0 μm): 50–75%
- Dust (1–3 μm): ~85%
- Pollen (3–10 μm): ~90%
- -> Theoretical CADR for each particulate:
- Smoke ≈ 425.9 CADR
- Dust ≈ 556.9 CADR
- Pollen ≈ 589.7 CADR
- -> Real world efficiency tends to be approximately 75% of theoretical efficiency based on comparisons across multiple other air purifier brands, assuming proper air sealing and air movement
- -> Real world performance estimates:
- Pollen ≈ 425.9 CADR × 0.75 efficiency = 442.3 CADR
- Dust ≈ 556.9 CADR × 0.75 efficiency = 417.7 CADR
- Smoke ≈ 589.7 CADR × 0.75 efficiency = 319.4 CADR
Building the purifier
Bill of Materials
R&D is very expensive. I may earn a bit of commission on parts you purchase from these links. Thank you for your support, this helps me further improve the designs of the air purifiers.
1. ARCTIC P14 140mm fan
Quantity: × 9
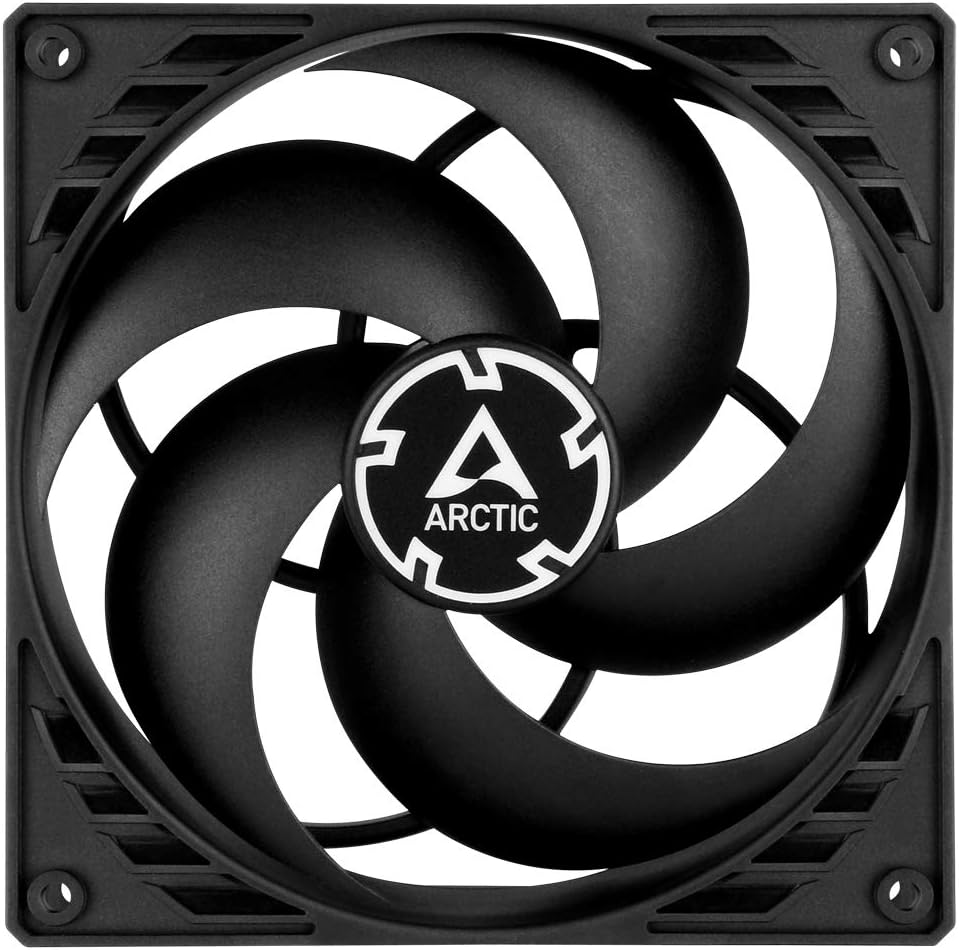
High static pressure, high air flow data-center grade fans.
- ≈ $6.8 per fan on Amazon
- To get nine fans, you can buy two (2) of these 5 packs to get the best price, plus you'll have a spare
- Dimensions: 5.51"L x 5.51"W x 1.06"H
- Stats:
- Airflow: 72.8 CFM
- Static pressure: 2.40 mmH₂O
- Loudness: 10.64 dBA
- Spin rate: 1700 RPM
- Voltage: 12 V
- Power Draw: 1.8 W
- Weight: 191g
- Notes: If you're trying to find alternative fans, make sure they are high static pressure fans! That is very important. High static pressure means that the fans create a vacuum suction effect, meaning they can pull air through resistant materials such as... air filters.
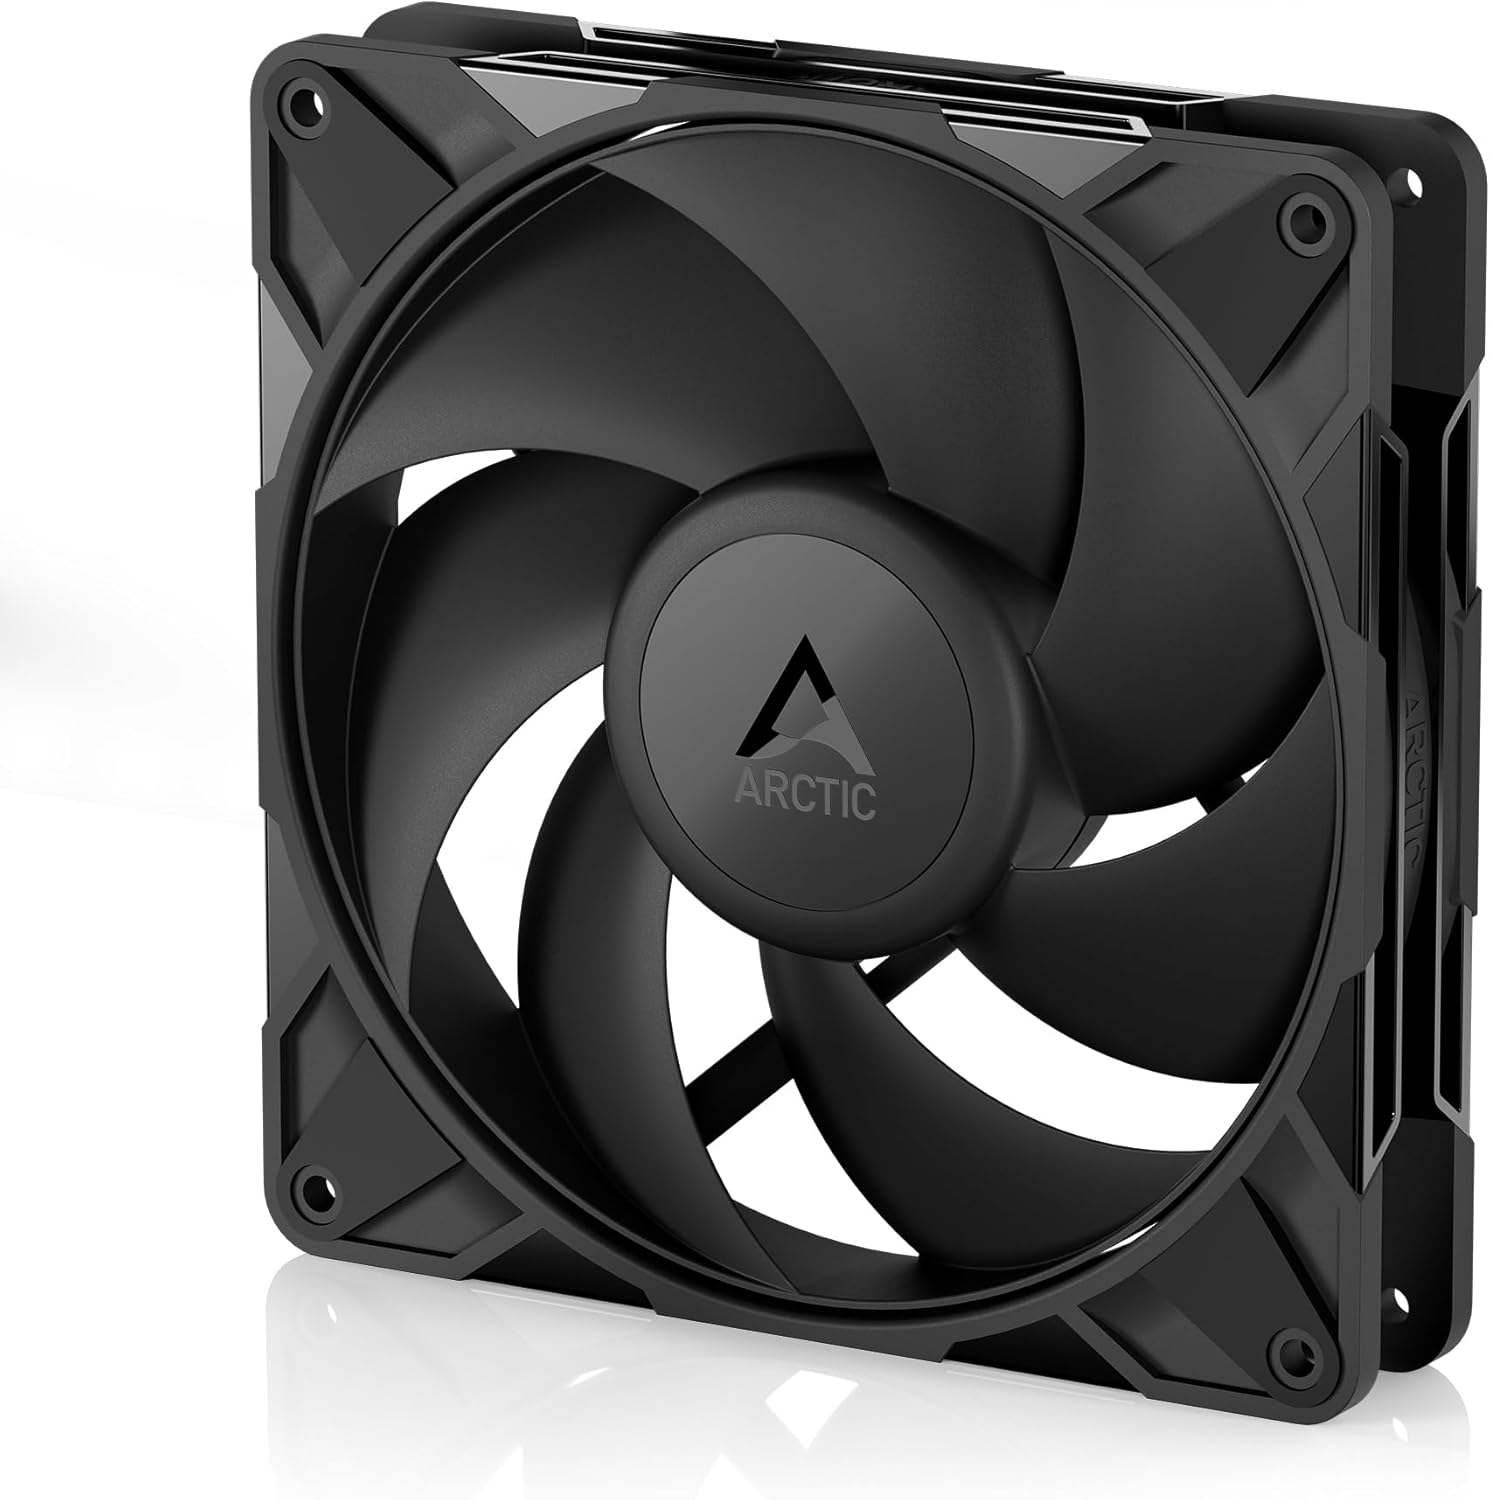
Good alternative fan: ARCTIC P14 PRO PST
Twice the static pressure of the normal ARCTIC P14 fans, albeit more noise and power draw.
- Also ≈ $6.8 per fan on Amazon
- To get nine fans, you can buy two (2) of these 5 packs to get the best price, plus you'll have a spare
- WARNING: If you get this fan, you also need the 5A power supply. DO NOT USE the 2A power supply, it will catch fire.
- Stats:
- Airflow: 110 CFM
- Static pressure: 5.2 mmH₂O
- Loudness: 25 dBA
- Spin rate: 2500 RPM
- Voltage: 12 V
- Power Draw: 4.2 W
- Weight: 240g
2. MERV 13+ Air Filters - 16×25×1 inch
Quantity: × 4
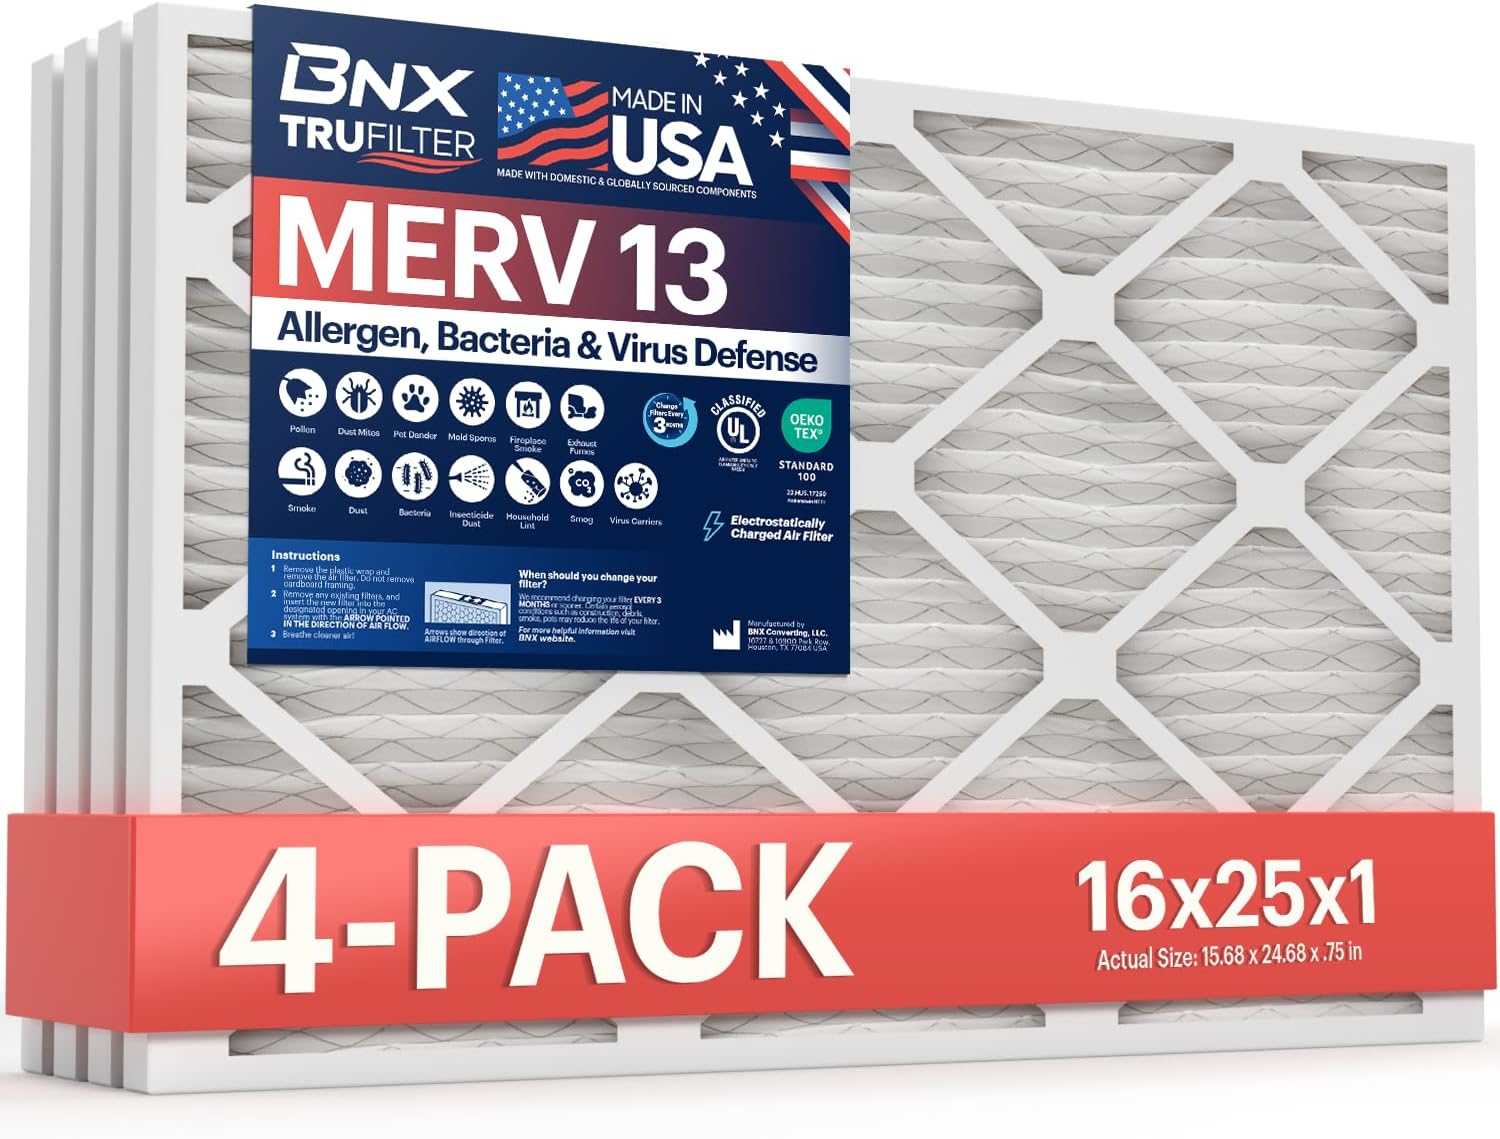
MERV 13 or higher rated air filters. MERV 13 is rated to capture fine dust, mold spores, and even the coronavirus. IMPORTANT: the MERV 13 rating is equivalent to HEPA quality. You may be tempted to purchase a lower MERV rating based on price, but it would decrease the filtration quality. Feel free to purchase anything rated at or above MERV 13, including MERV 14. Note that even for severe asthma, MERV 13 is perfectly sufficient for air purification, so don't feel pressured to purchase filters rated above MERV 14. We need four (4) of these 16 × 25 × 1 inch filters to make a box shape.
- $35 for a 4 pack on Amazon - BNX MERV 13 4-pack
- $80 for a 4 pack on Amazon - PuroAir MERV 13 With Activated Carbon (These ones actually come with carbon! See section below on carbon filters.)
- $70 for a 4 pack on Amazon - 3M Filtrete MERV 14 4-pack (These are MERV 14 rated, if you need extra purification.)
- $36 for a 4 pack on Amazon - Aerostar MERV 13 4-pack
- $80 for a 4 pack on Amazon - 3M Filtrete MERV 13 4-pack
- $85 for a 6 pack on Amazon - AIRx MERV 13 6-pack
3. Optional* Carbon Filters - 16×25×1 inch
Quantity: × 4
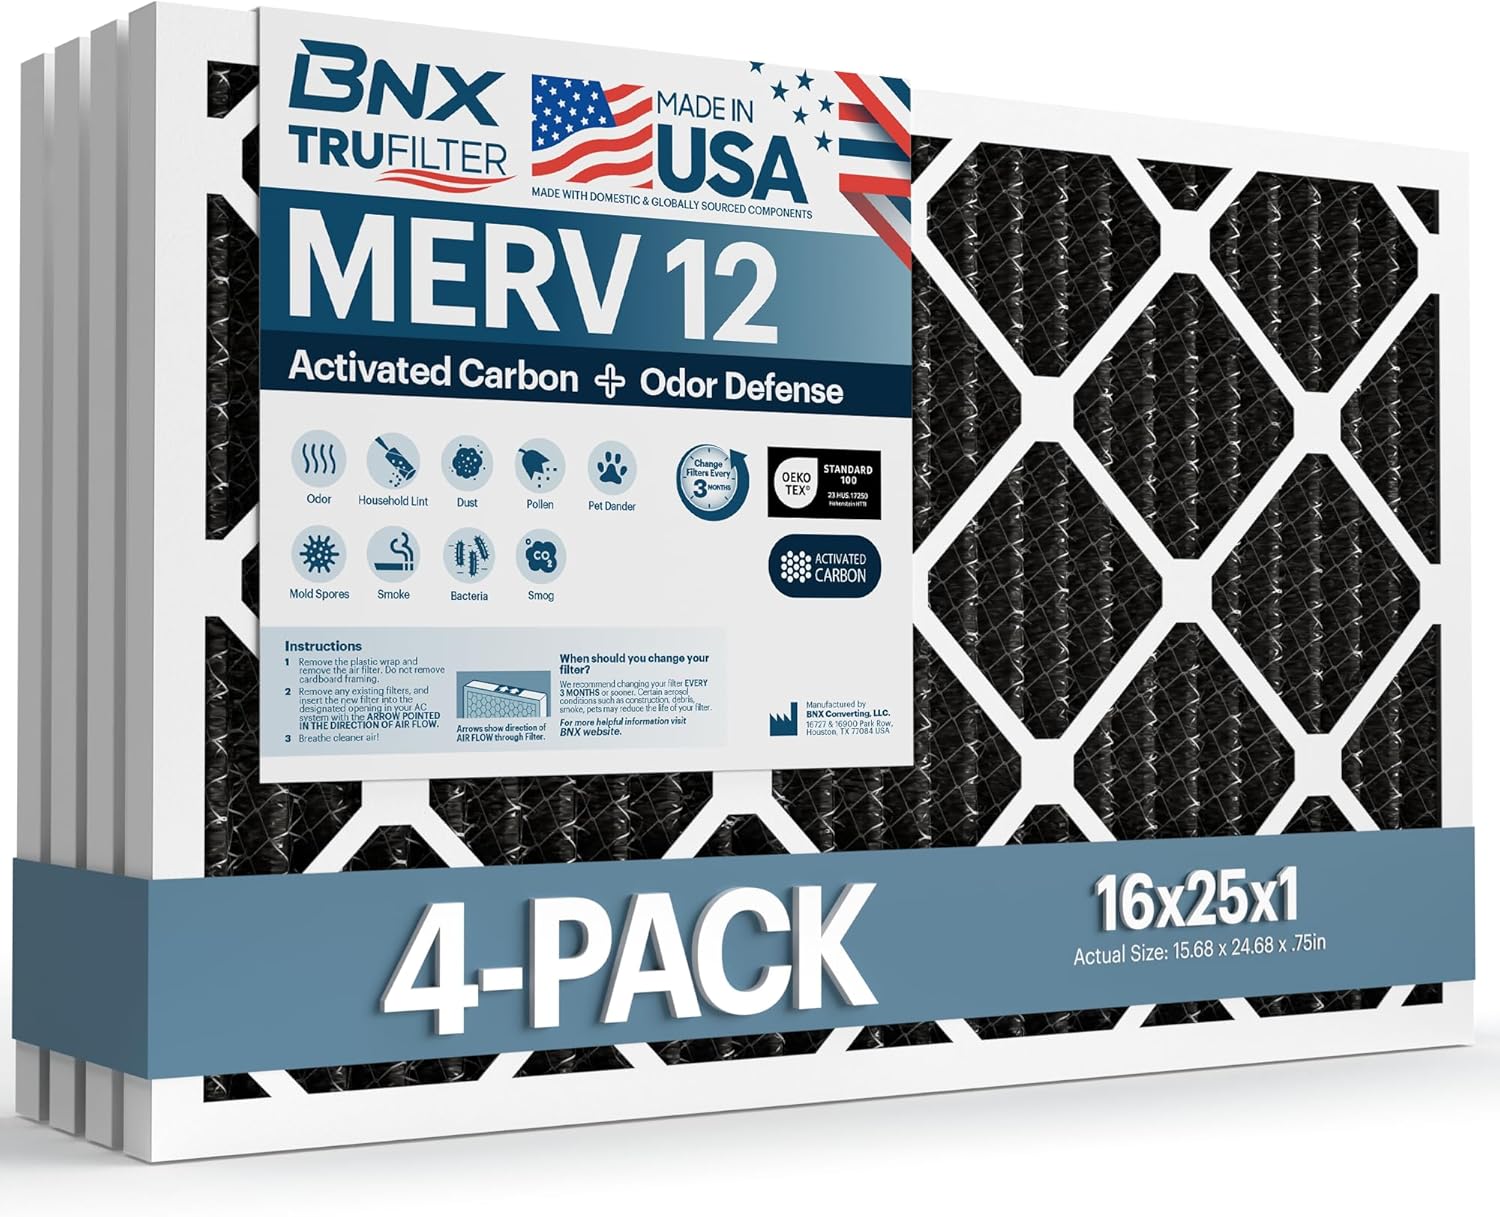
Carbon filters act as a pre-filter for larger particles like pet hair, fumes, and wood particles. Normal air filters also don't filter out various odors. That's where carbon filters can come in handy. *If you have pets, work in a machine shop, or live with a smoker, definitely get these as well. These carbon filters don't need to be MERV 13 rated because the air filters already are, unless you want to get the 2-in-1 air filter carbon combo.
We need four (4) of these 16 × 25 × 1 inch filters to make a box shape.
- $39.99 for a 4 pack on Amazon - BNX MERV 12 4-pack
- $69.99 for a 6 pack on Amazon - AIRx MERV 8 4-pack
- $80 for a 4 pack on Amazon - PuroAir MERV13 With Activated Carbon (These ones actually come with carbon and a MERV 13 rating!)
4. Fan Grill 140mm (choose your favorite color)
Quantity: × 9
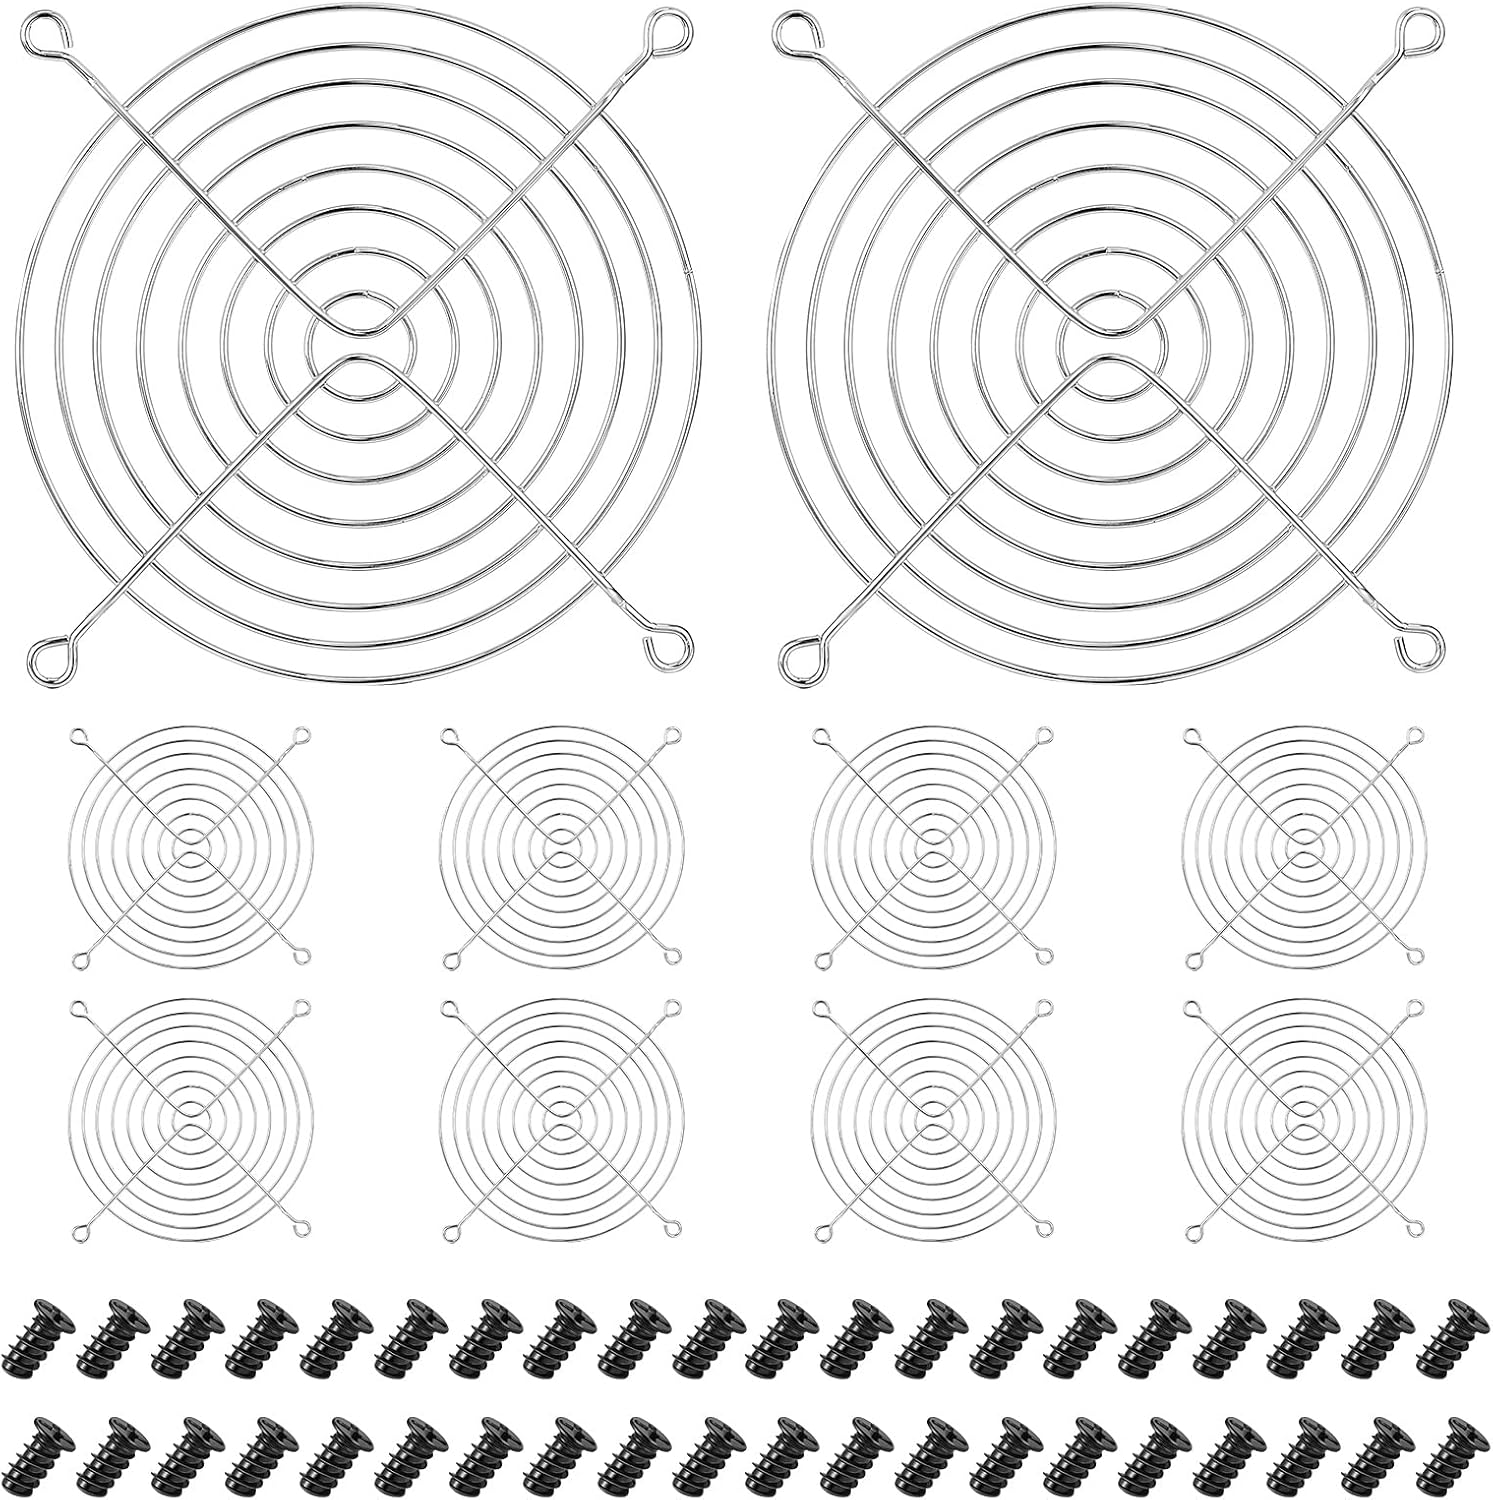
These grills are to protect your fans from hands and paws, or rather, the other way around.
- ≈ $1.6 per grill on Amazon
5. Fan Push Pin 4.5mm (choose your favorite color)
Quantity: × 36
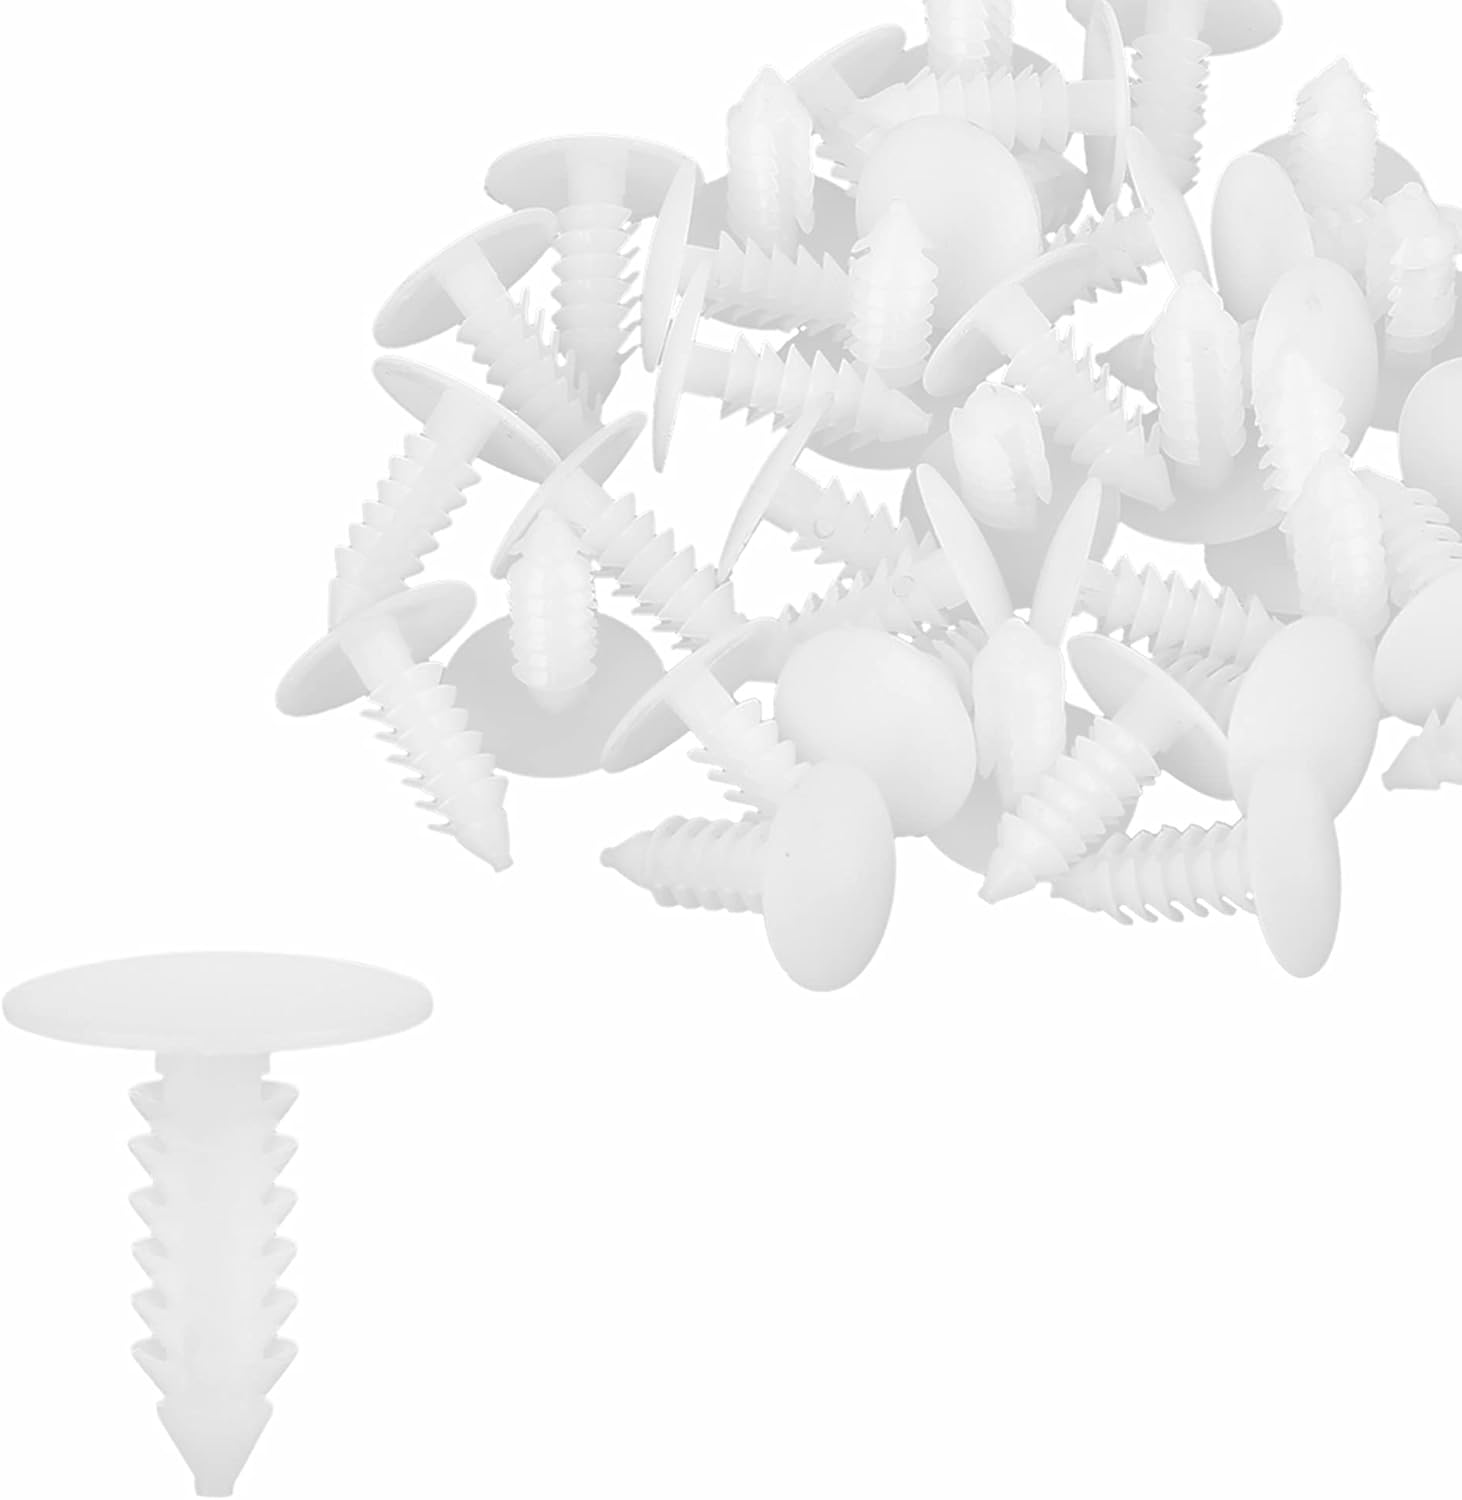
These push pins are way easier to work with than screws. They are to attach the fans to the shroud.
- ≈ $6.49 for 40 pieces on Amazon, so you get 4 spares per pack
- BLACK 100 pack
- WHITE 100 pack
6. Five-Way 4 PIN PWM Fan Hub
Quantity: × 1
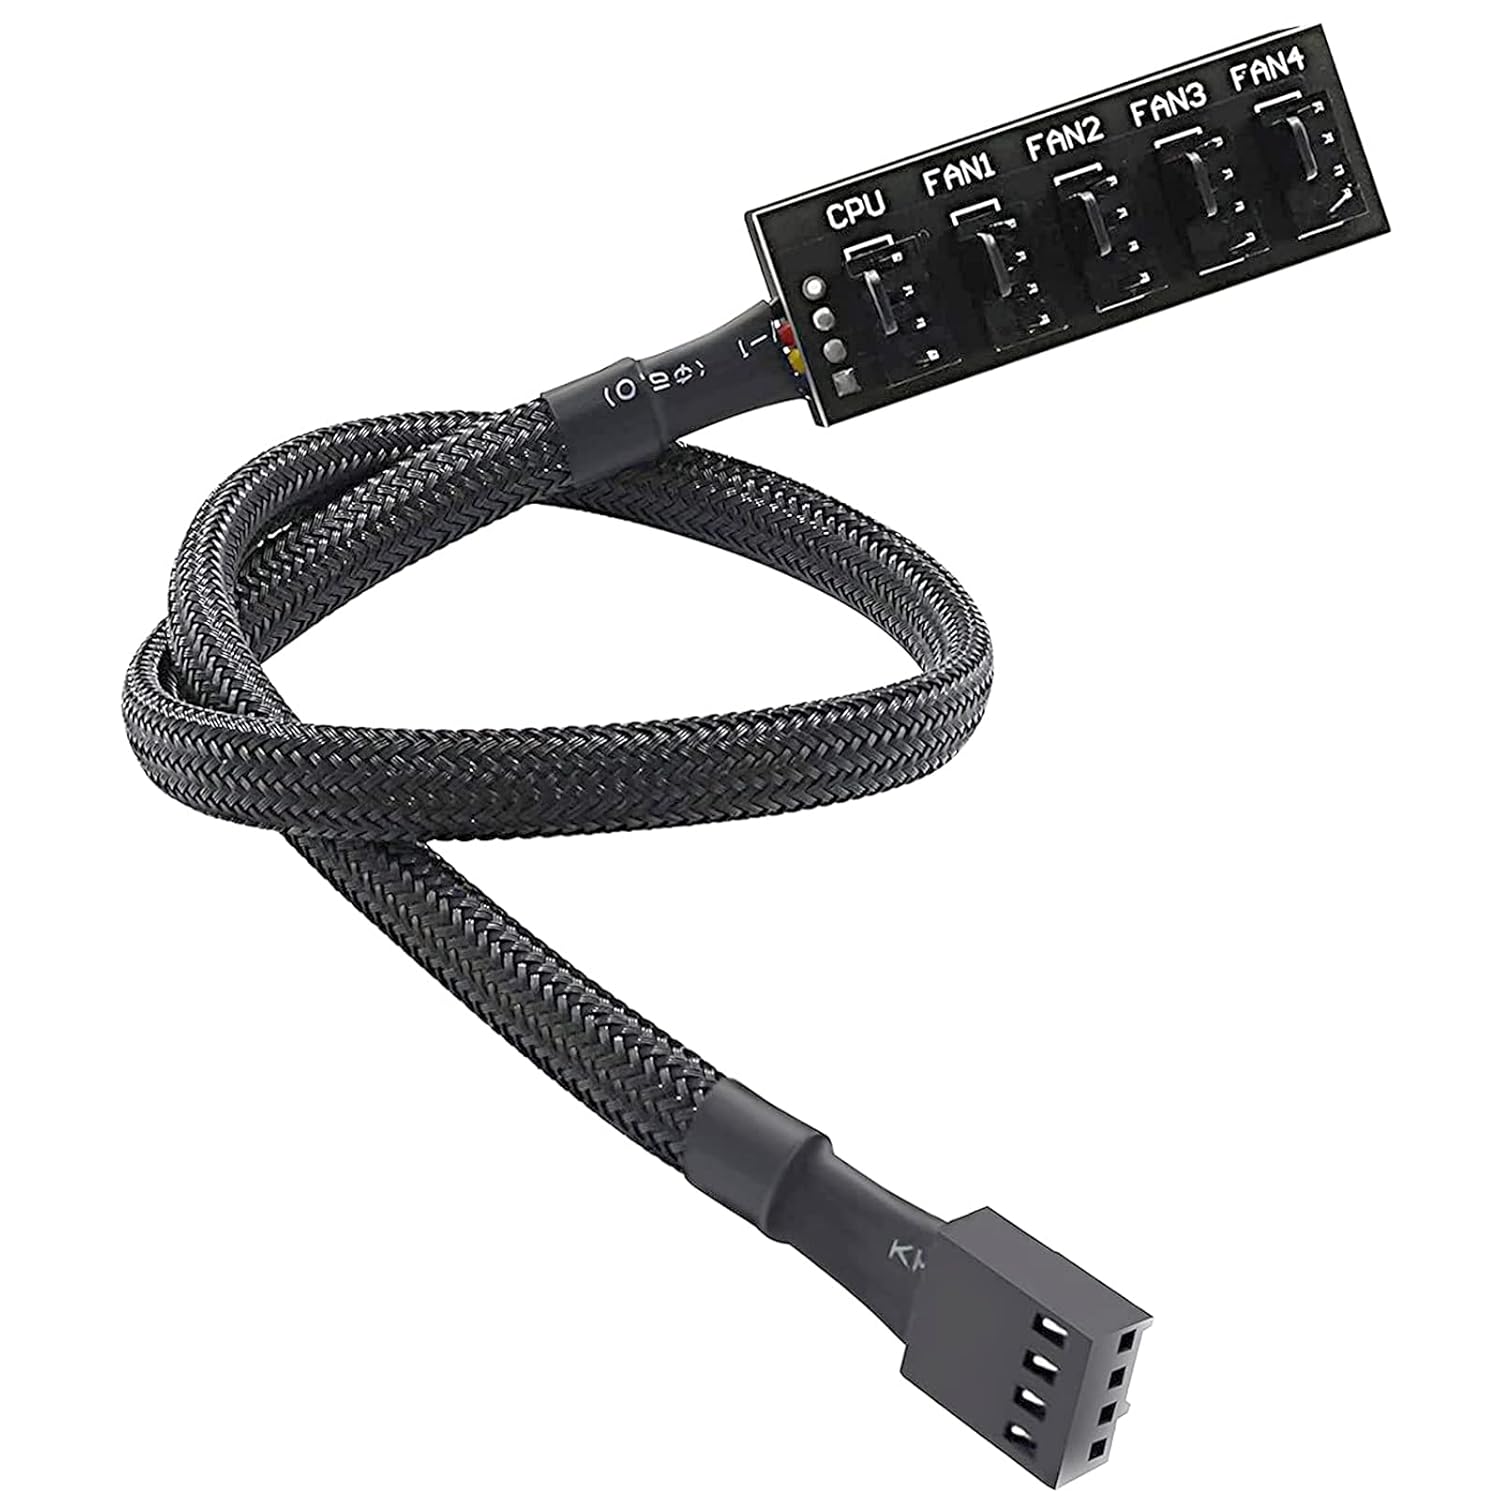
One of the components for wiring the fans.
7. Three-Way 4 PIN PWM Splitter
Quantity: × 2
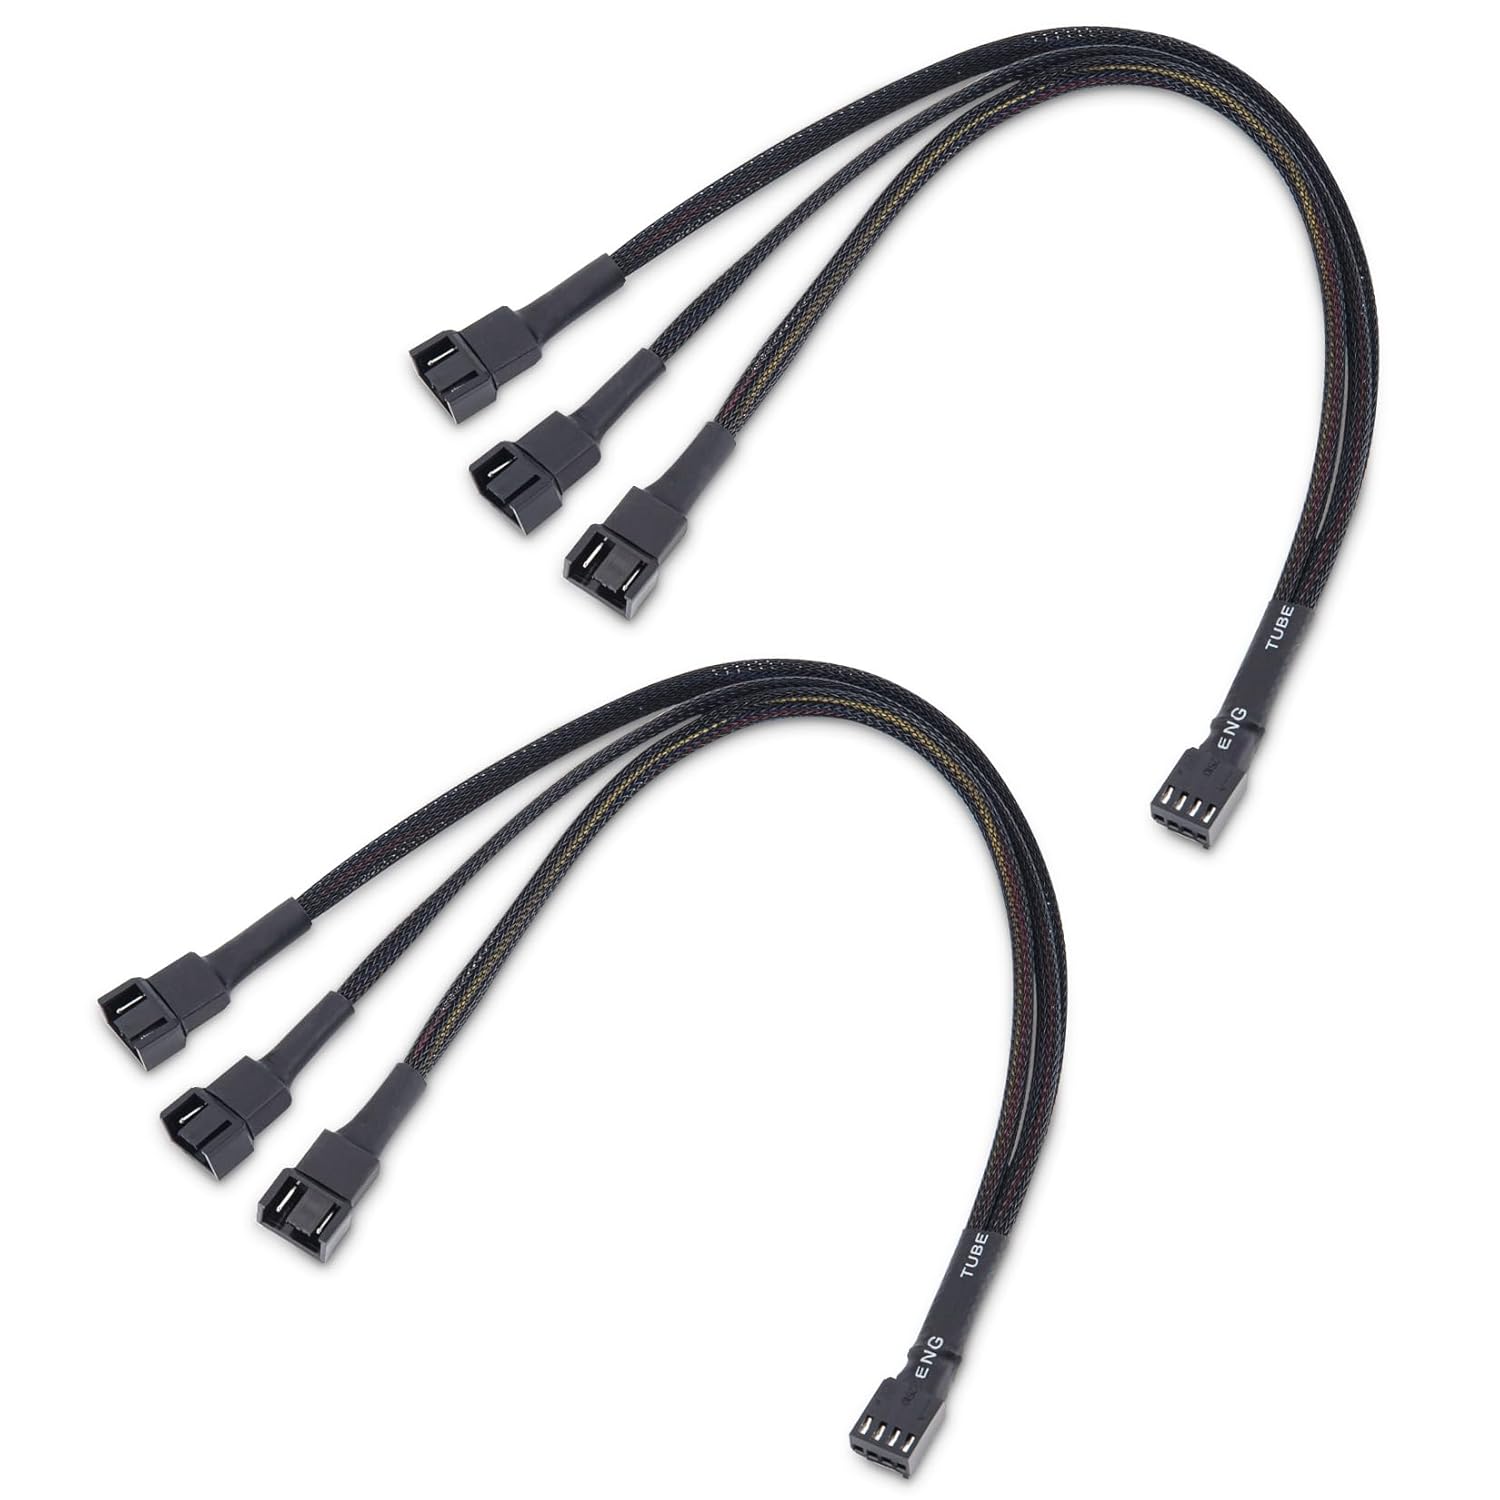
More components for wiring the fans.
- $8.99 for a 2 pack on Amazon
8. DC 5.5mm x 2.1mm to 4 PIN PWM Converter
Quantity: × 1
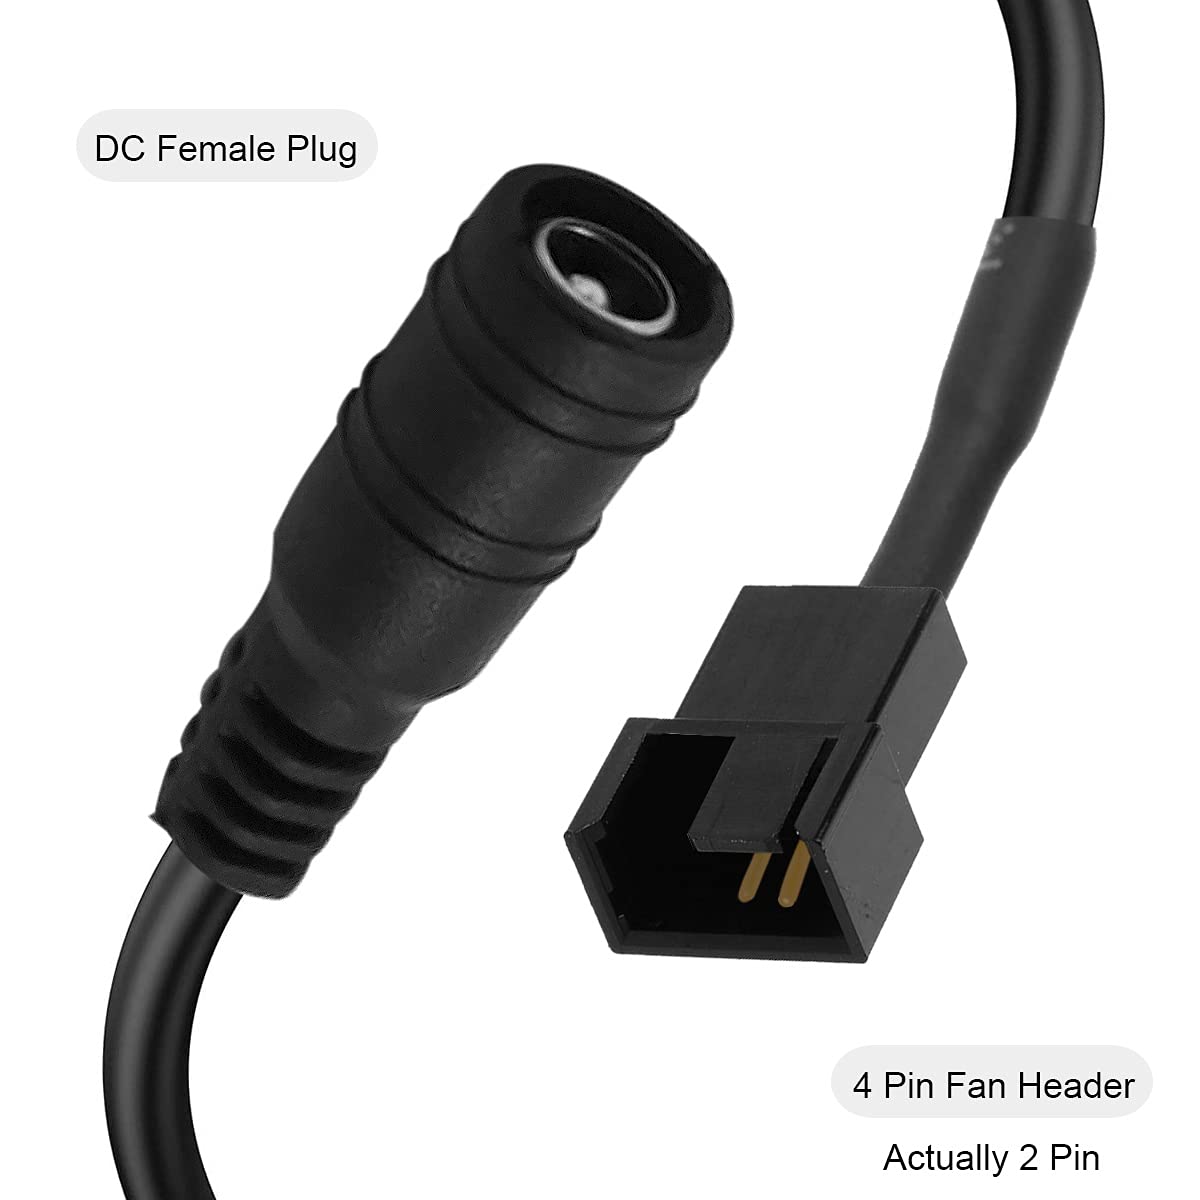
Another component for wiring the fans. You only need one but it's hard to find just one online.
- $10 for a 5 pack on Amazon
9. Inline Power Switch DC
Quantity: × 1
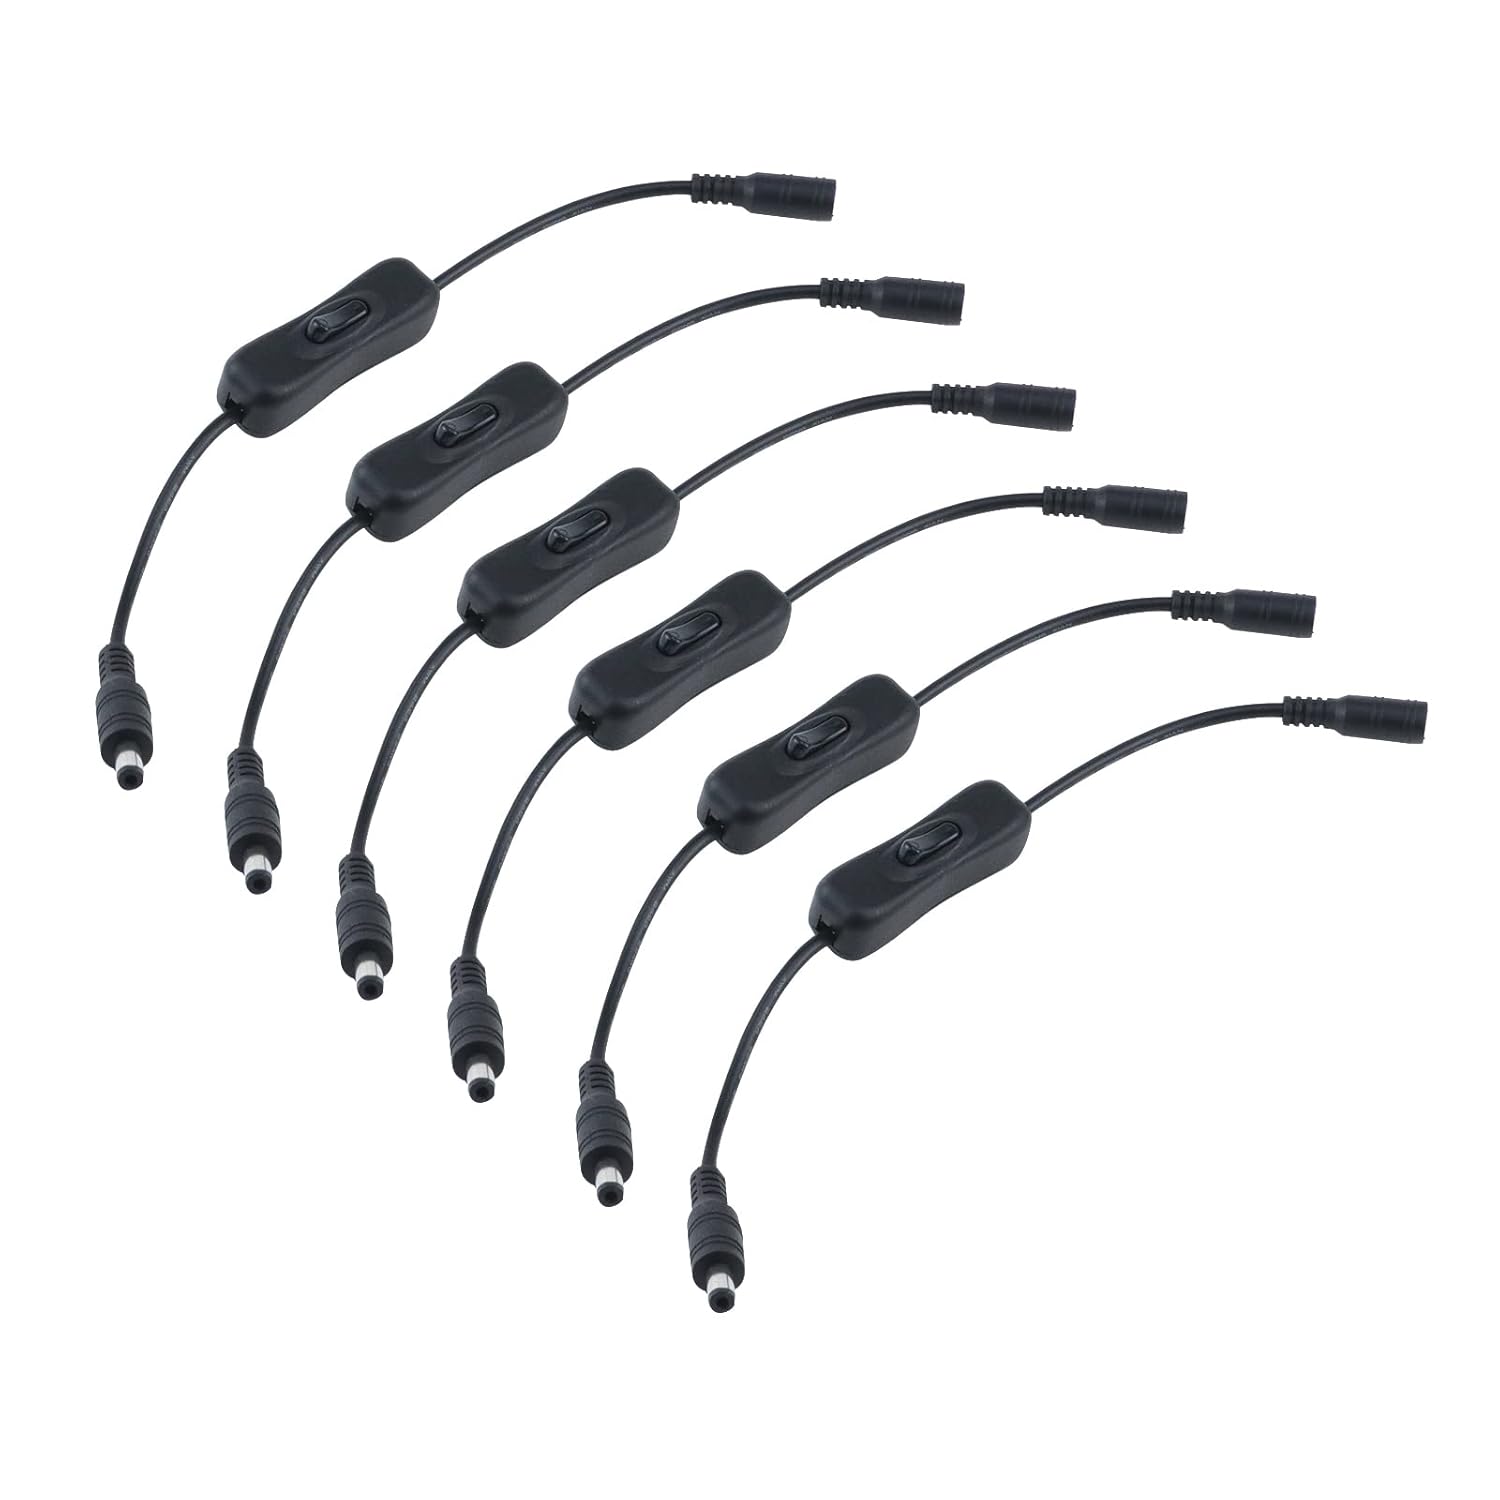
Another component for wiring the fans. You only need one but it's hard to find just one online.
- $10 for a 6 pack on Amazon
10. 2A 12V 24W DC Power Supply Wall Brick 2.1mm Barrel
Quantity: × 1
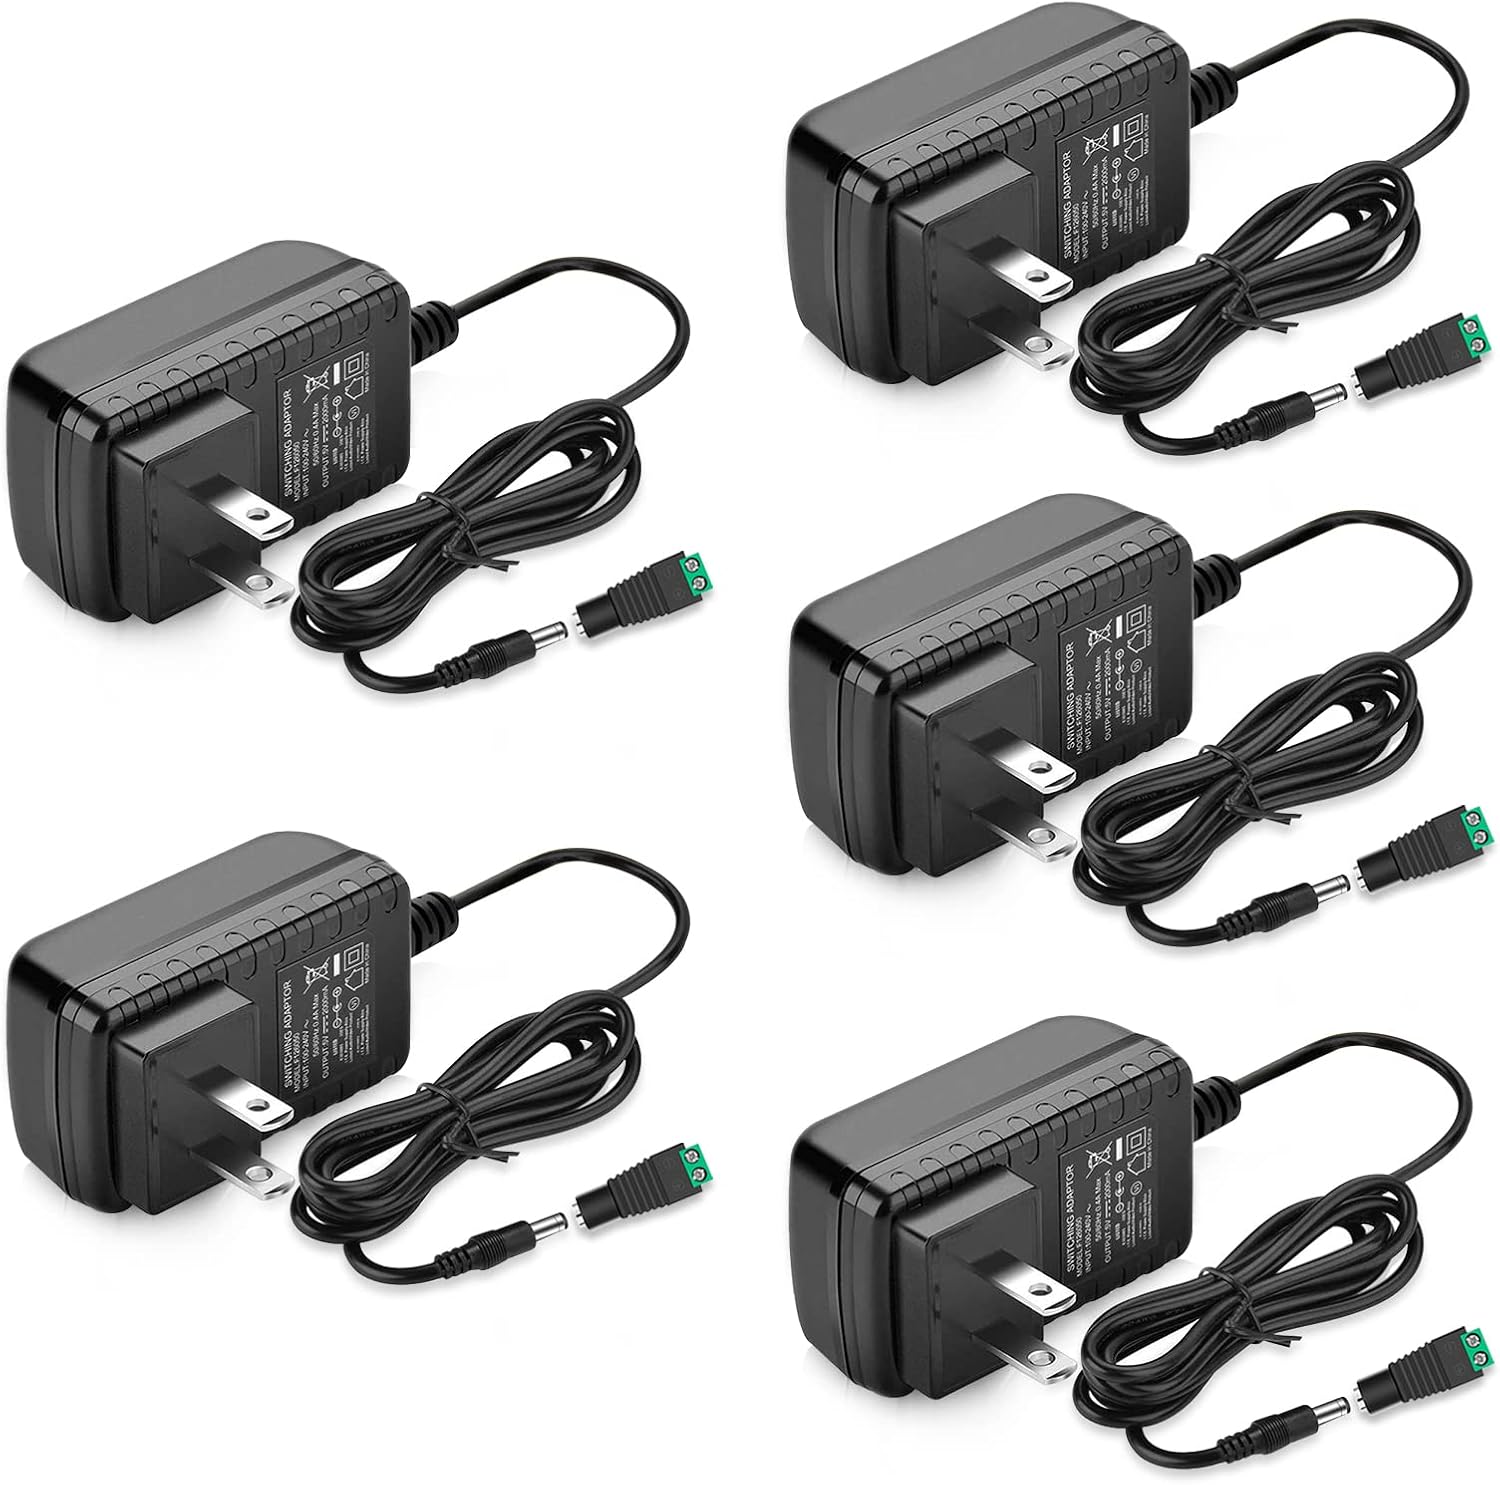
The wall brick to power the air purifier. IMPORTANT: it must be rated for 2A (2 amps)!!! DO NOT BUY 1A power bricks, they will overheat and cause a fire. You only need one but it's hard to find just one online.
- $25 for a 5 pack on Amazon
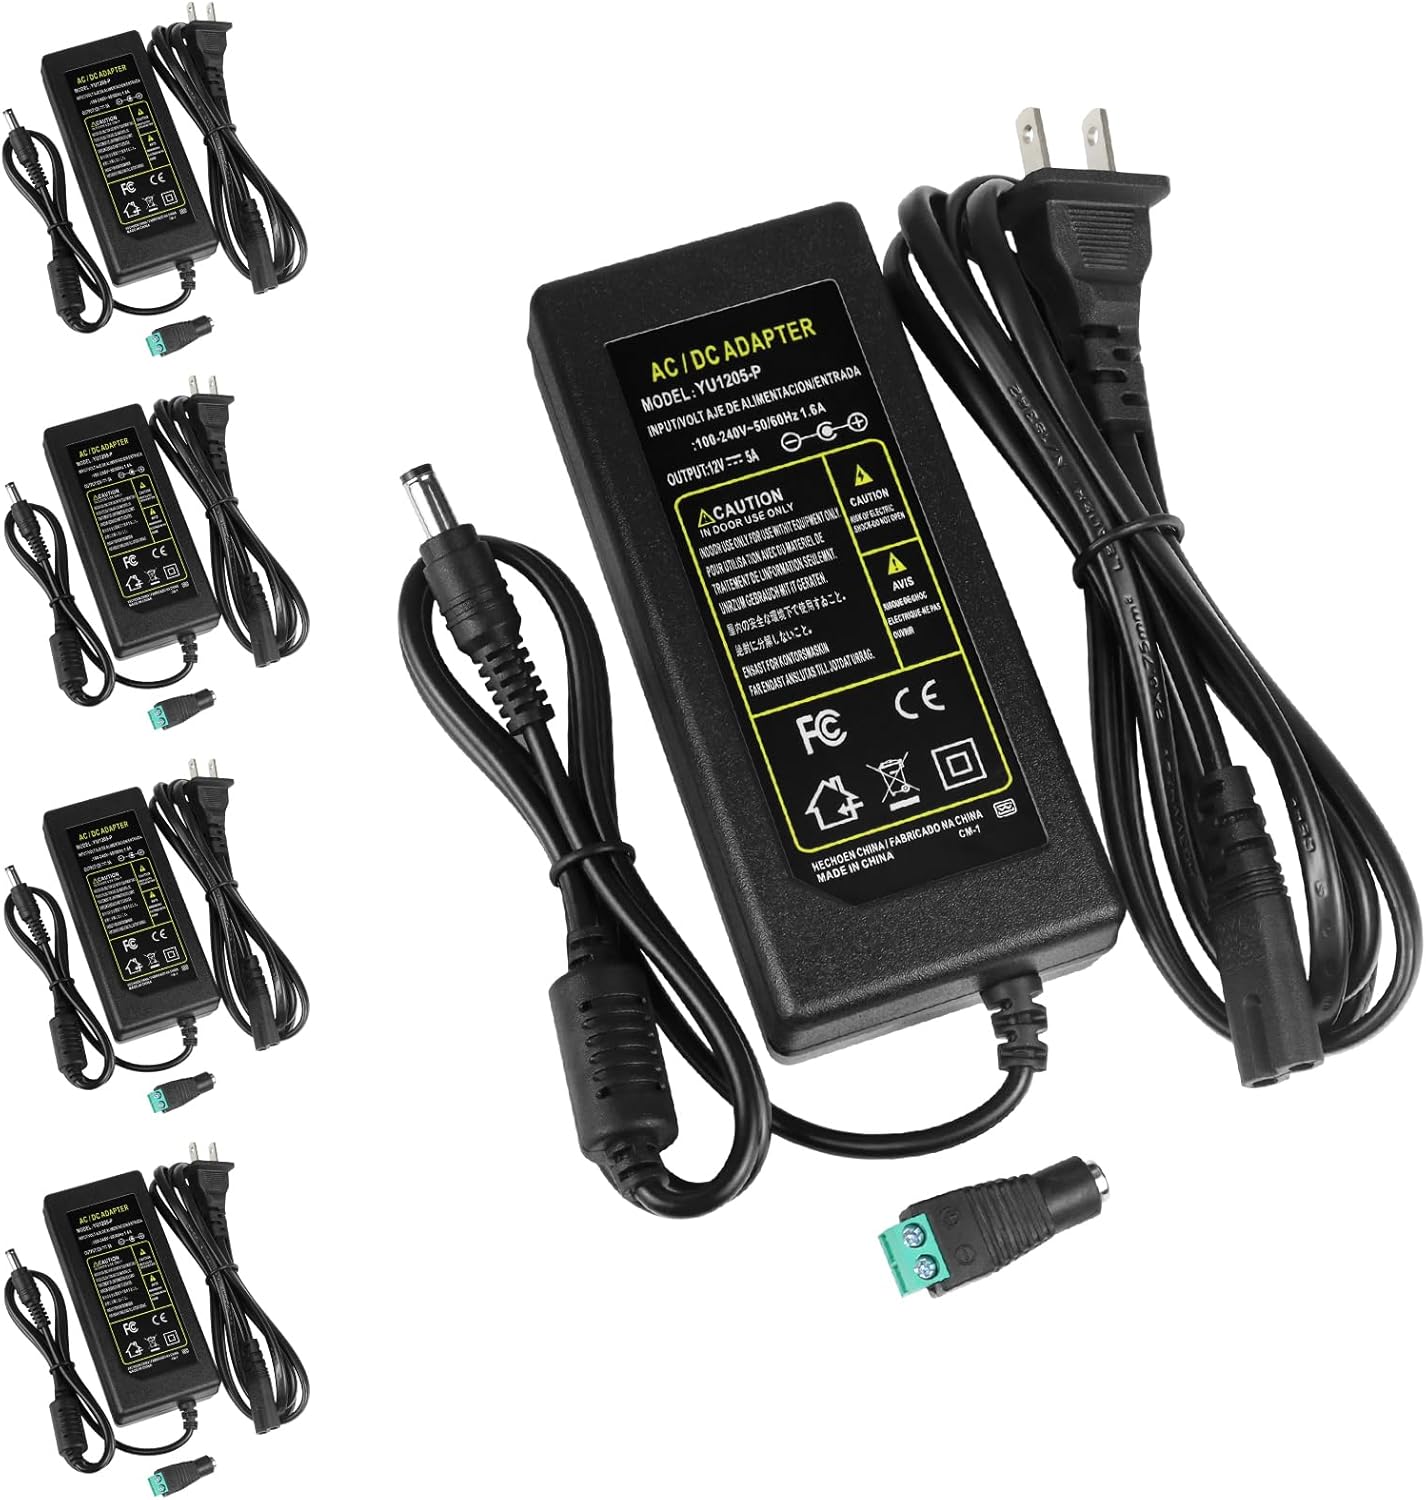
If you're using the ARCTIC P14 PRO fans, you need a stronger power supply: 5A 12V
11. Corrugated Plastic
Quantity: × 1
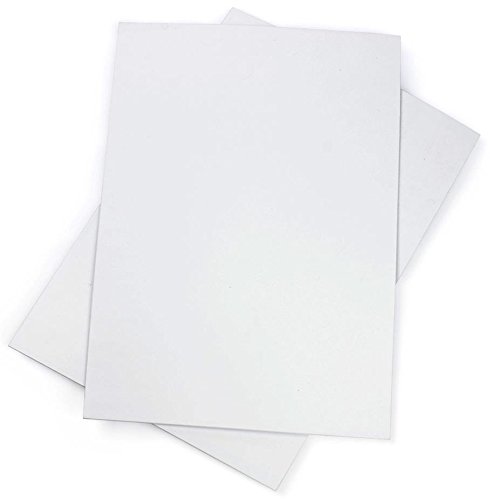
The plastic to build the frame. If you purchased the aluminum shroud: skip this part.
- $17 for a 2 pack on Amazon
12. Duct Tape - Pick your favorite color 🐳
Quantity: × 1
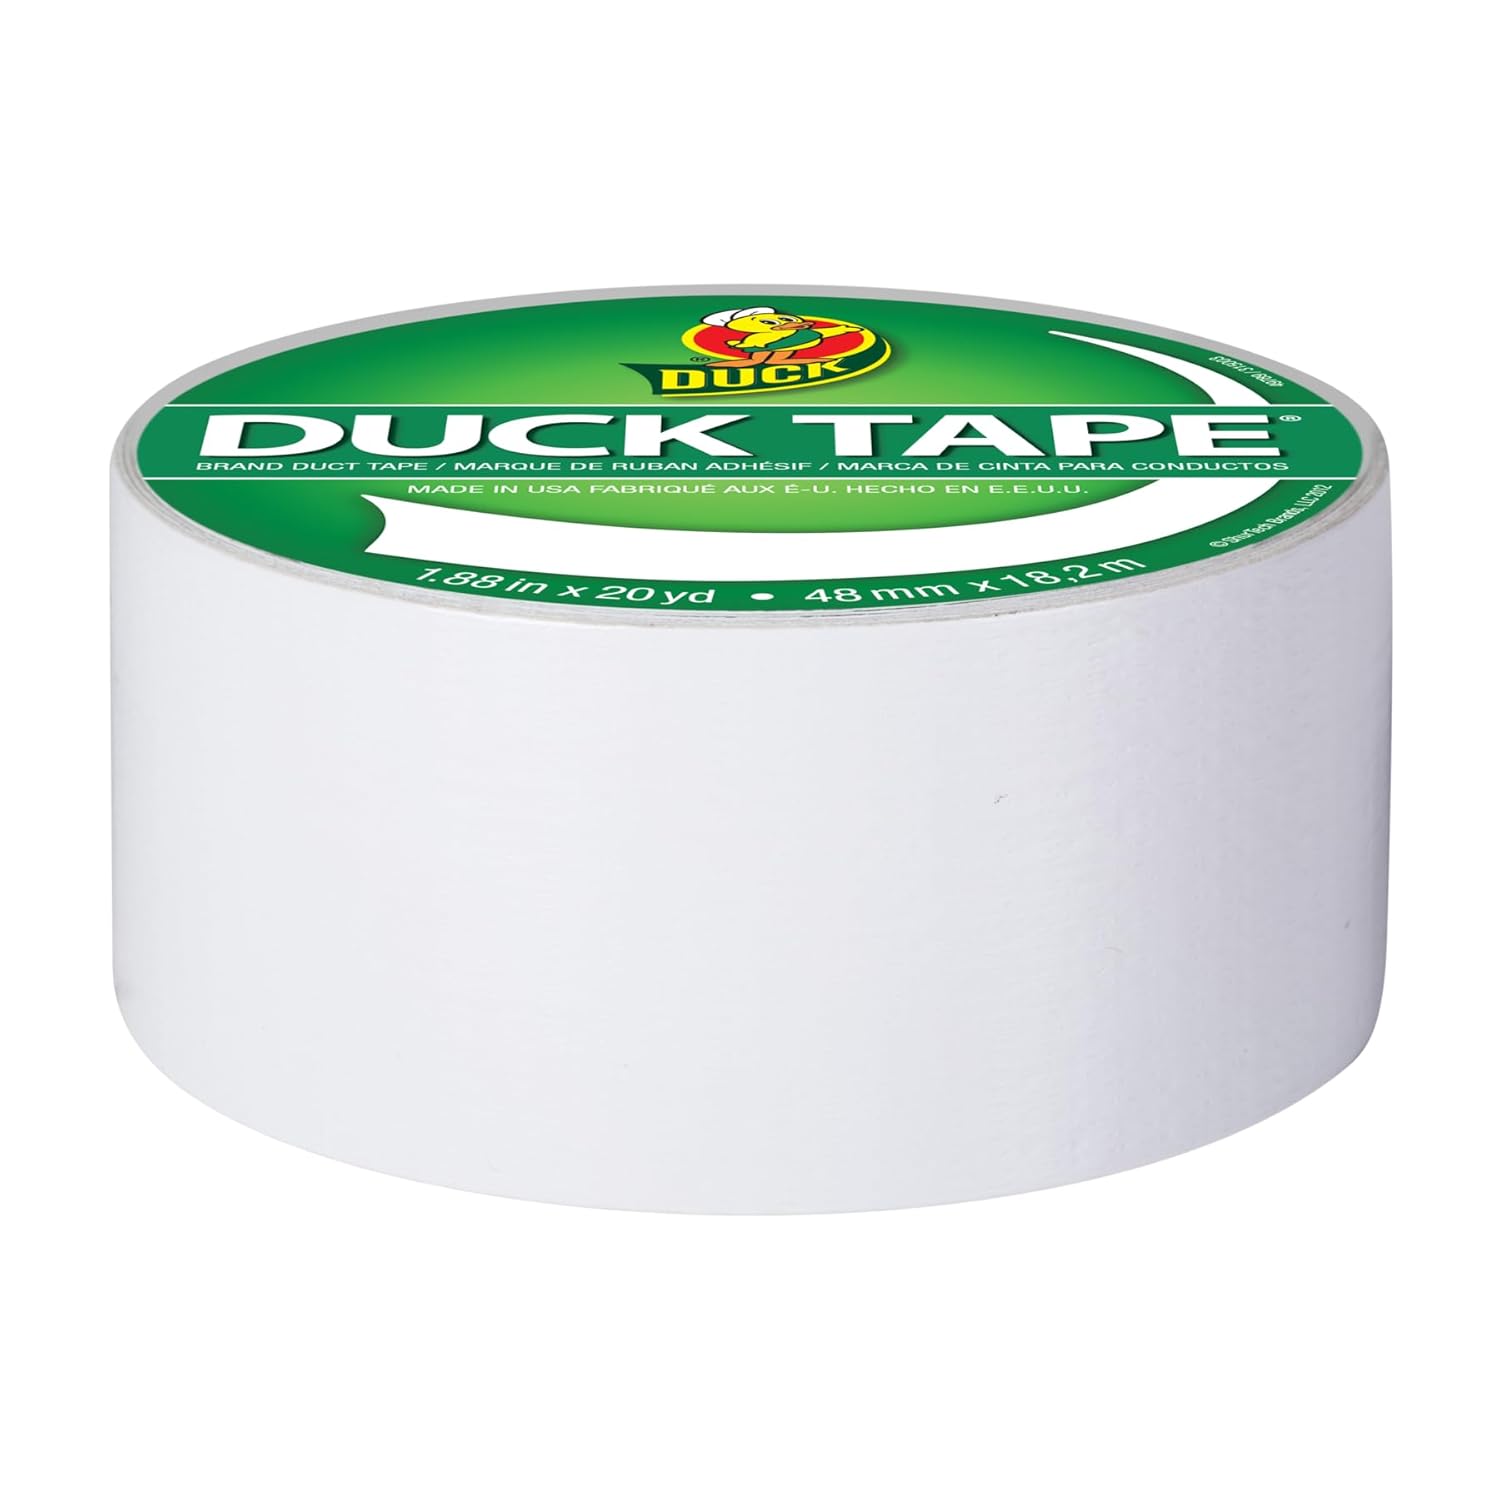
The duct tape to bind the frame together. Here's where you can pick a color you like, it will be visible on the outside. Choose black for a sleek look, white for a clean look, or anything in between.
- $3.50 for a 1 pack on Amazon
13. Utility Knife
Quantity: × 1
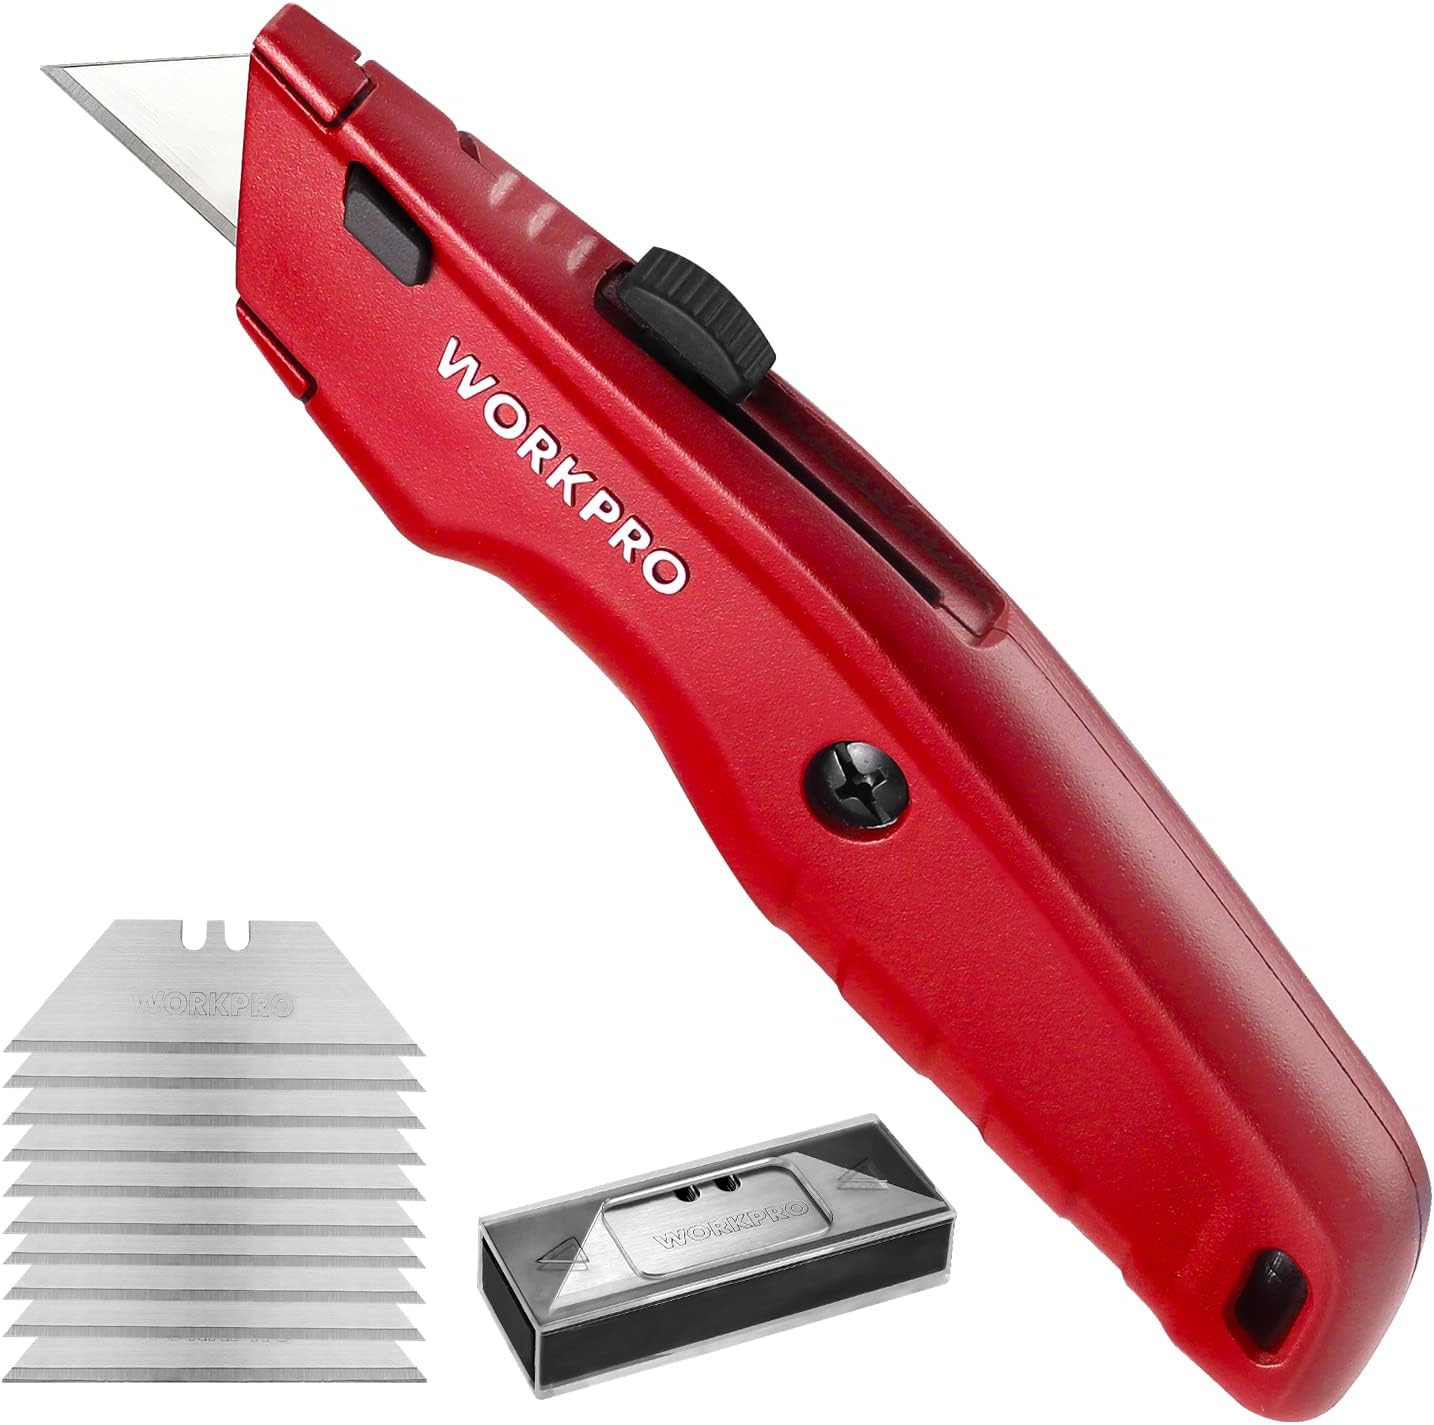
The utility knife to make the shroud from the corrugated plastic. If you purchased the aluminum shroud: skip this part.
- $10 for a 1 pack on Amazon
14. Drawing Compass
Quantity: × 1
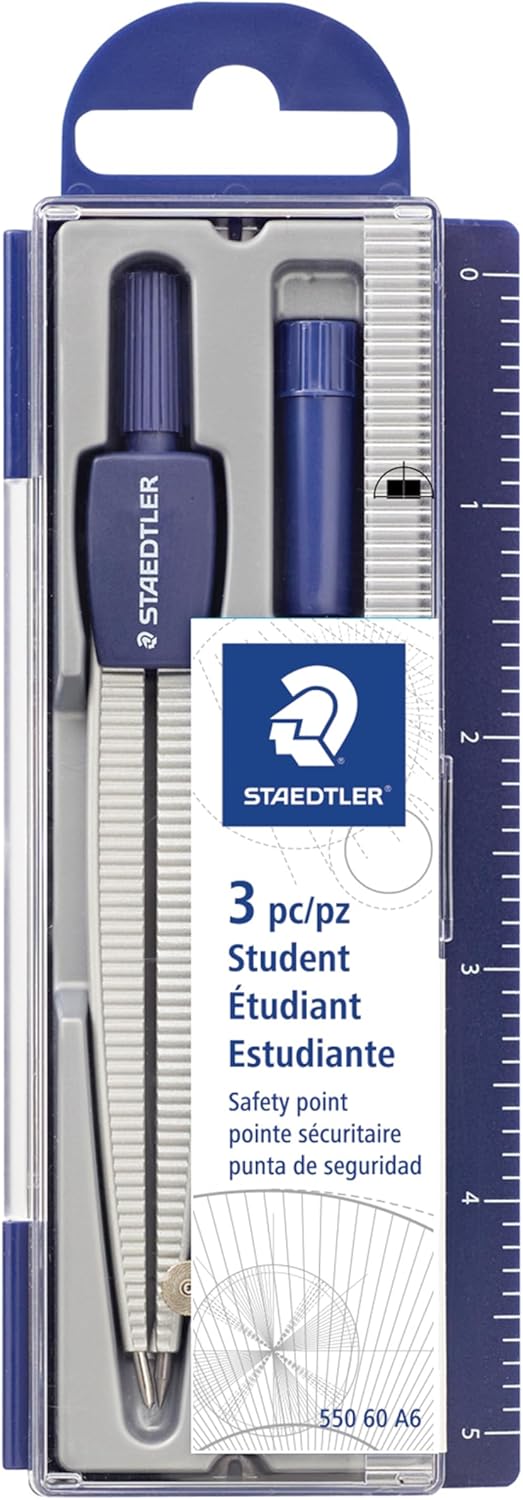
The drawing compass to draw the fan cut-out outlines on the corrugated plastic. If you purchased the aluminum shroud: skip this part.
- $9 for a 1 pack on Amazon
⚠️ PLEASE READ ⚠️: I do not provide any warranty for this air purifier. Any hardware malfunctions may be covered by the manufacturers of the individual parts bought and purchased from Amazon, if they provide one.
⚠️ WARNING ⚠️ : Air purifier contains small parts and electric components. Keep out of reach of children. Make sure that you are using the appropriate power supply (2 Amp DC power supply) and never use any lower rated power supply. Keep the air purifier at least a foot away from walls and other furniture for proper air circulation and cooling. Do not stick objects or fingers into the fans. Keep fingers and objects away from fans.
Assembly 🔨
Feel free to follow along with the video! Meanwhile, here are the instructions.
Step 1: Assemble the frame
Parts needed:
Directions:
- Find a flat surface, like a large desk or the floor.
- For the rest of these directions, I will assume you are at a desk indoors, for simplicity.
- Take a single MERV air filter (not the carbon filter). Look at its edge and find the airflow arrow.
- I will refer to this filter as F1 moving forward.
- With the airflow arrow pointing up at the ceiling, lay F1 flat on your desk.
- The short end of the filter should be facing you, and the long ends should be on either side.
- The airflow arrow must be pointing up at the ceiling.
- Take another air filter (F2). Find the airflow arrow.
- With the airflow arrow pointing to your left, place F2 on the right of F1.
- The short edge of F2 should be vertical, perpendicular to the desk.
- Bring F2 close to F1 so that their edges are flush, like the corner of a box.
- Yep, we are making a box with the filters.
- Use duct tape or hot glue to attach the edge of the filters together.
- Make sure the edges where the two filters meet are sealed together so air cannot leak out.
- Rotate the fiters clockwise ↻
- At this point the filters may be a bit flimsy since they are not fully attached like a box. You may need to hold them up with a hand.
- Repeat steps (4) through (8).
- If you imagine a box shape made up of the filters, make sure the airflow arrow always points "into" the box shape.
At this point, you should have an open-ended box made of air filters (which I call the frame). Before you go further, make sure the airflow arrows are pointing "into" the box frame. You can lay the frame to the side.
If you chose to include carbon filters, duct tape the carbon filters to the outside of the frame.
- Make sure the air flow arrows are pointing "into" the frame.
Once all sides are secure with either duct tape or hot glue, we can move on to making the shroud.
Step 2: Make the shroud
Parts needed:
At the end of this step, you will be left with a plastic shroud that looks like this:
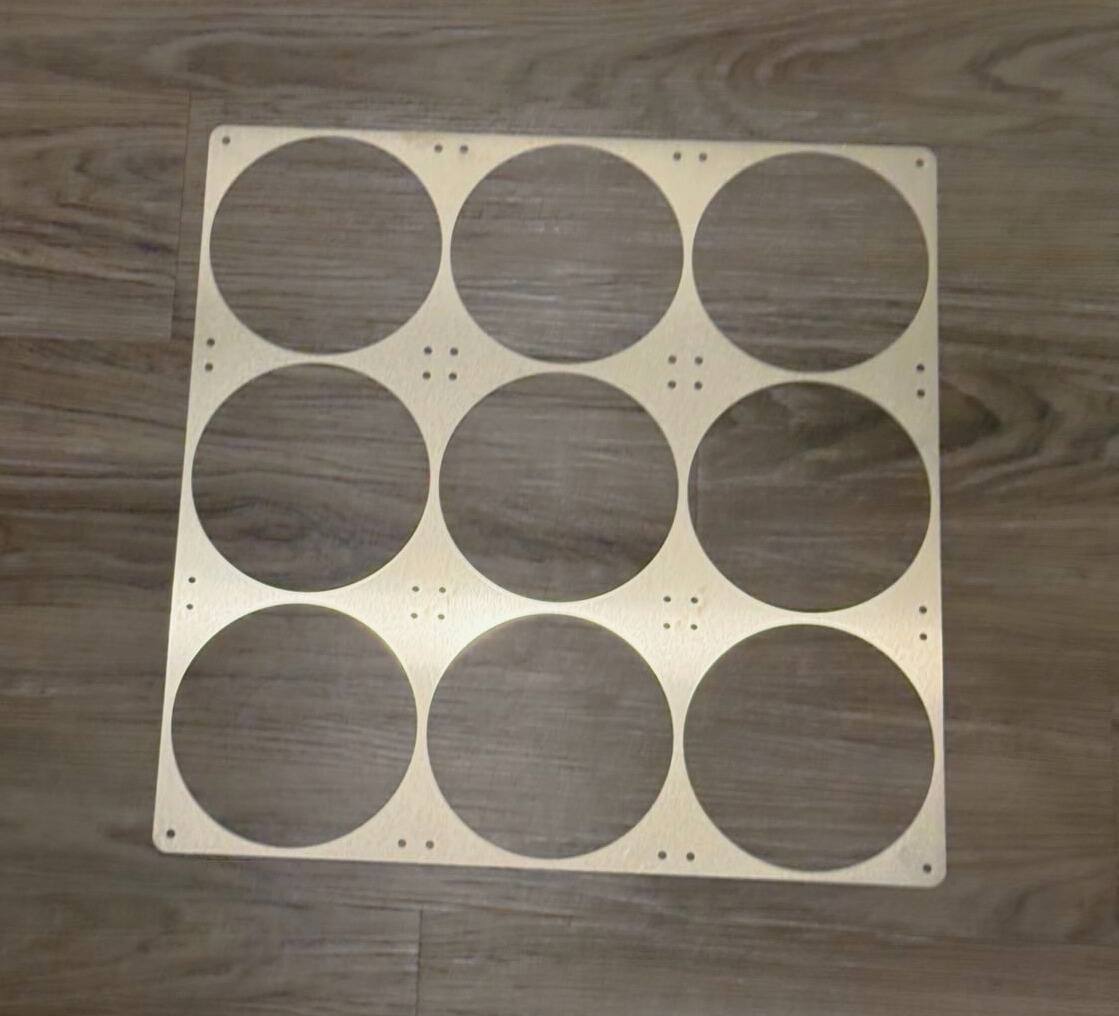
That's a picture of the the custom machined aluminum shroud I designed for this air purifier. It saves even more time in the build process and makes it more durable! If you'd like one, please contact me to purchase one for $40.
Directions:
- Find a flat surface, like a large desk or the floor.
- Print out this stencil (dimensions must be exactly 425 mm × 425 mm or exactly 16.73228 inches × 16.73228 inches):
Stencil copyright of Suhayl Kodiriy 2025 through current year. Stencil is designed by Suhayl, do not redistribute without written permission.
- Use the utility knife to cut the coroplast into a shroud for the top of the air purifier, following the printed out stencil as a guide.
- Tip: you can use a screw driver to punch the small holes out.
- If you're feeling energetic, you can draw the stencil onto the coroplast using the drawing compass.
- You also need a bottom for the box. Use the utility knife to cut another piece of coroplast to size to create a bottom square, following the outside of the stencil as a guide. (Do not cut any holes in this one!) Leave this to the side for now.
Step 3: Assemble the fan shroud
Parts needed:
Directions:
-
On a desk, lay down the Arctic fans in a 9 × 9 grid.
- Make sure the White Arctic logo is on the bottom, touching the desk. This ensures the airflow of the fans is facing up.
- You will have to fit the wires in between the corners of where the fans meet to get the fans to fit exactly flush to eachother.
- Make sure the wires are also on the bottom, touching the desk, the top will need to remain clear for the next step.
-
Lay the shroud on top of the fans. The holes should all align.
-
Lay a fan grill on top of each fan, aligning the four corners with the holes.
- At this point you should have a fan - shroud - grill sandwich, like the image below, minus the push pins. As you can also see in the image, the white Arctic logo is not visible on the fans because it's on the underside.
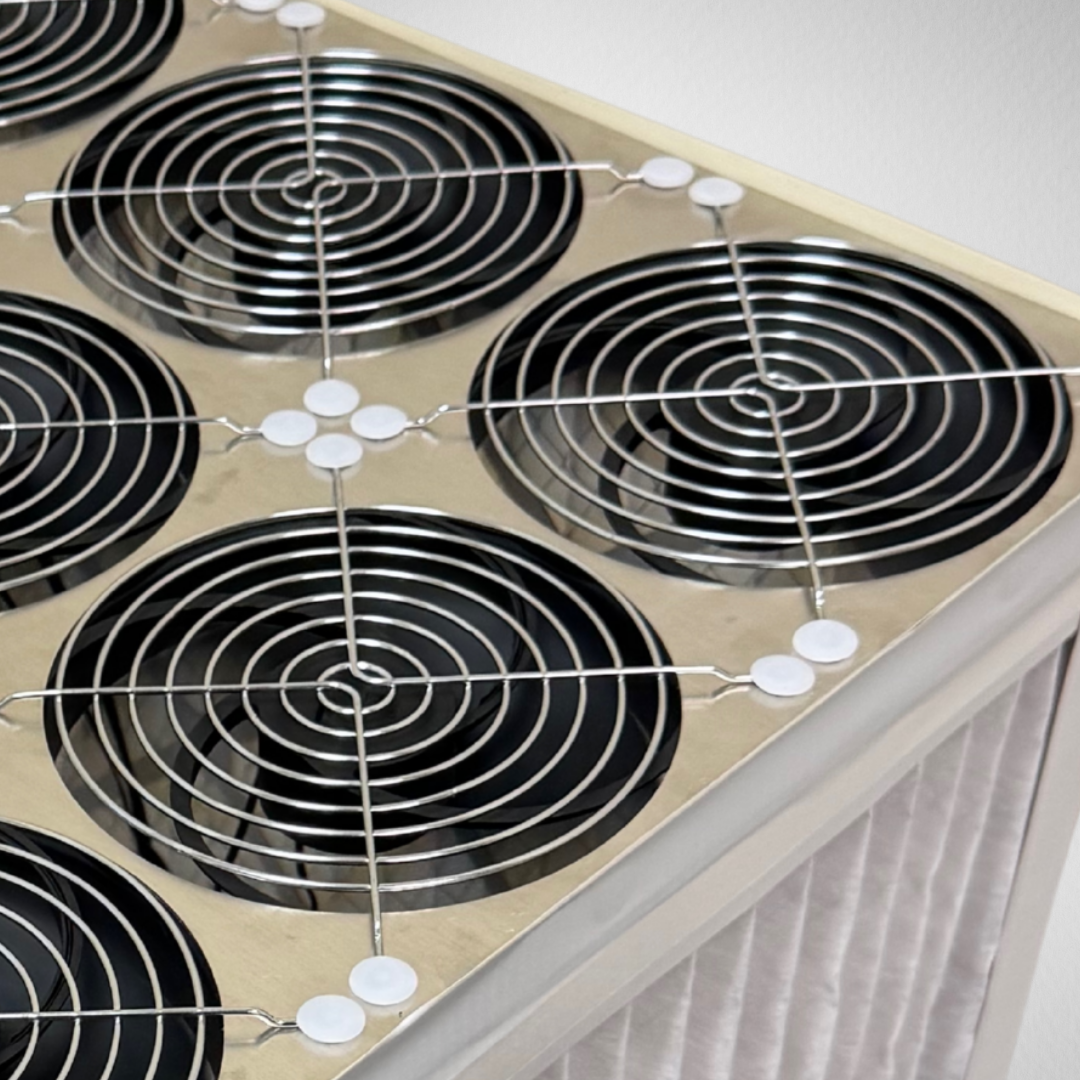
- IMPORANT: Before you continue to the next step, make sure the fans are facing the proper direction! (See step 1 above.) Once you finish the next step, you won't be able to change the fan direction.
-
Push the push pins into the small holes to secure each fan to the shroud.
- There are 36 holes so you will need to push 36 pins in.
Step 4: Wire everything up
Parts needed:

5 way 4 pin PWM fan hub

3 way 4 pin PWM splitter ×2

DC PWM converter

Inline DC power switch

DC Power Supply (2A)
Directions:
- Take a 3-way splitter and grab the single-sided end. Plug this single end into any slot on the PWM fan hub.
- Repeat step 1 with the second 3-way splitter.
- You now essentially have a 9-way fan hub if you include the three slots left on the PWM fan hub.
- Take your assembled fan shroud and lay it upside-down onto a desk.
- The side with push pins should be facing down on the desk surface.
- You should now see the wires of the fans exposed.
- Each fan has one wire, so there should be 9 wires with 4 pin connectors.
- Take a fan connector and plug into one of the connectors on the 9-way fan hub.
- You will hear a click when the connectors have properly snap-fit together.
- Repeat step 4 until all 9 connectors of the fan hub are connected.
- Now that all your fans are connected to the fan hub, it's time to wire the fan hub to a DC power source.
- Take a DC to PWM converter. Plug the PWM connector into the single-end connector of the 9-way fan hub.
- Next, take an inline DC power switch. Plug the male end into the female DC connector on the DC to PWM converter.
- Take a 2A power supply (wall brick) and connect the male end into the female DC connector on the inline DC power switch.
- Now, plug the power supply into the wall.
- We have arrived at the testing phase. You want to make sure all the fans run before gluing/taping up the air purifier.
- You may need to flip some of the inline switches to "ON" mode for the fans to turn on.
- Make sure all 9 fans turn on.
- Once you have verified all the fans turn on and the power switches work, switch it back to "OFF" and then unplug the power supply from the wall. We are ready to complete the build.
Step 5: Attach the fan assembly to the frame and seal it up
Parts needed:
- The box made of MERV filters you made in step 1, which I will call the frame.
- The entire fan assembly (9 fans attached to a shroud and wired together)
Directions:
- Take the fan assembly and plop it onto the frame. The corners should align so the fan assembly creates a "lid" for the frame.
- Use duct tape to connect and seal the edges of the frame to the edges of the fan assembly.
- At this point we have an air purifier but the bottom end is still open to the elements. Tilt the air purifier and gently pull the wall brick out from underneath, as it will be outside the purifier but still wired to the inside.
- Make sure to pull out the inline power switch as well.
- Take the bottom piece of corrugated plastic you made (the one without holes) and slide it under the air purifier.
- Use duct tape to connect and seal the edges of the coroplast to the edges of the frame.
- The power cable will be in the way, so you have to cut the duct tape a bit to seal around the cable.
- You should now have a fully sealed box of filters with fans on top. There should also be a power brick and inline power switch connected to eachother as well as to the inside of the air purifier!
Congratulations, you now have a working air purifier! 🎊
If you had trouble following this guide or something doesn't work at the end, make sure to watch the video! Seeing the build may clarify any issues you experienced.
⚠️ PLEASE READ ⚠️: I do not provide any warranty for this air purifier. Any hardware malfunctions may be covered by the manufacturers of the individual parts bought and purchased from Amazon, if they provide one.
⚠️ WARNING ⚠️ : Air purifier contains small parts and electric components. Keep out of reach of children. Make sure that you are using the appropriate power supply (2 Amp DC power supply) and never use any lower rated power supply. Keep the air purifier at least a foot away from walls and other furniture for proper air circulation and cooling. Do not stick objects or fingers into the fans. Keep fingers and objects away from fans.
